Introduction:
- To get started, go to the web composer by navigating to the "Website" module, then click on the three dots and select "Edit."

1. Registration:
- This block allow you to post the registration form as you made it in your Eventtia account.
- Drag and drop it above or below the other blocks or into a new page.

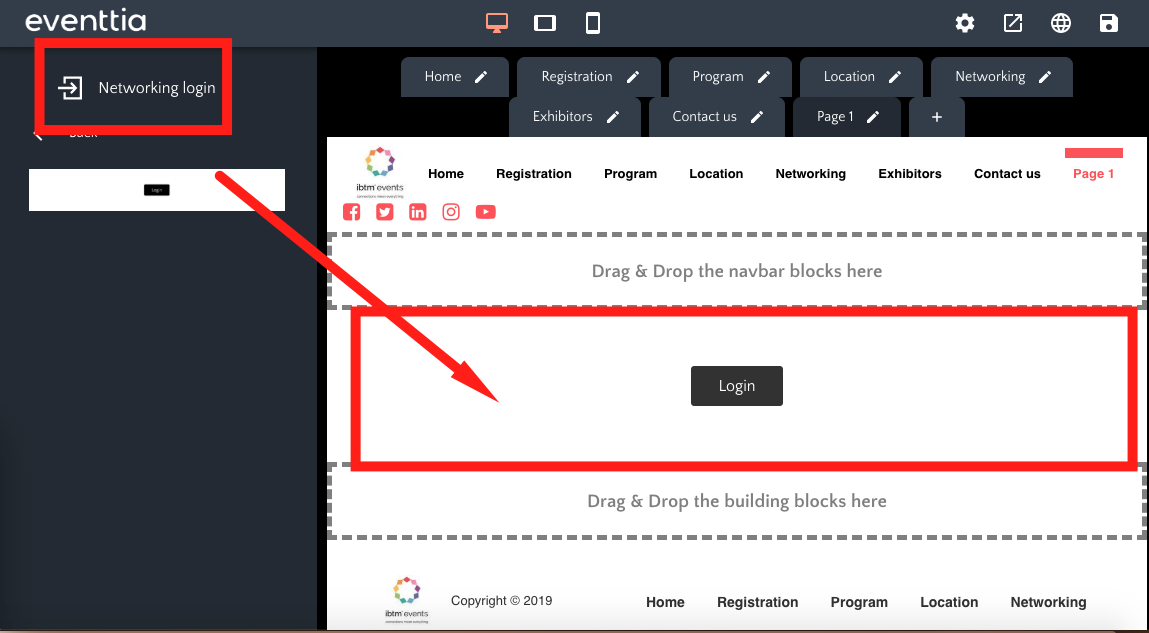
2. Networking login:
- This block allows participants to enter into the event's private space using their login info. You can use this when you manage exhibitors or when you have a matchmaking event.
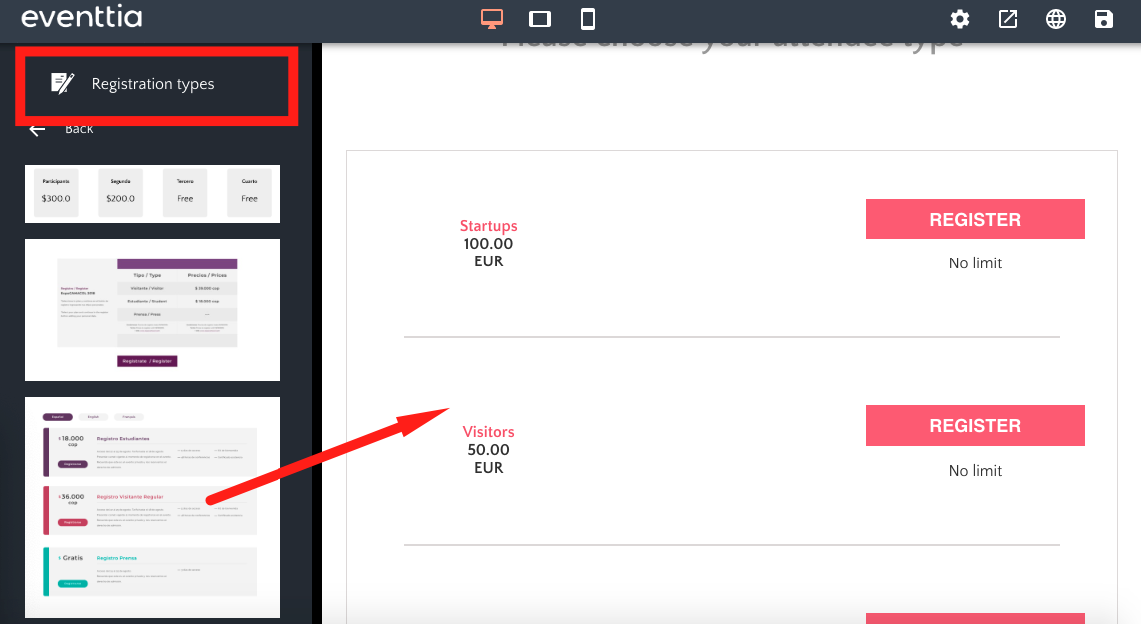
3. Registration types:
- This block displays the different types of participants that are available for public registration. You have the option to hide the ticket prices and the number of remaining tickets. Make sure to add this block if you want your participants to be able to register from your website.
- Simply choose one of the templates from the left and drag into into the space on the right.
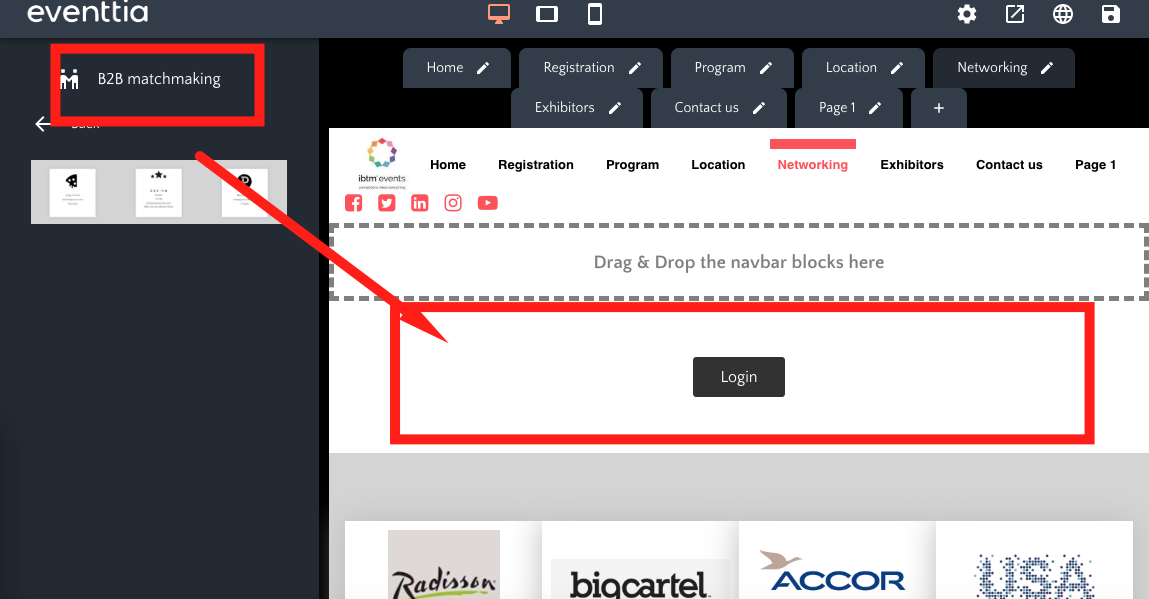
4. B2B Matchmaking:
- For your events with a B2B matchmaking activity, you have the possibility to display those who will take part: their names, company, and any other information worth mentioning.
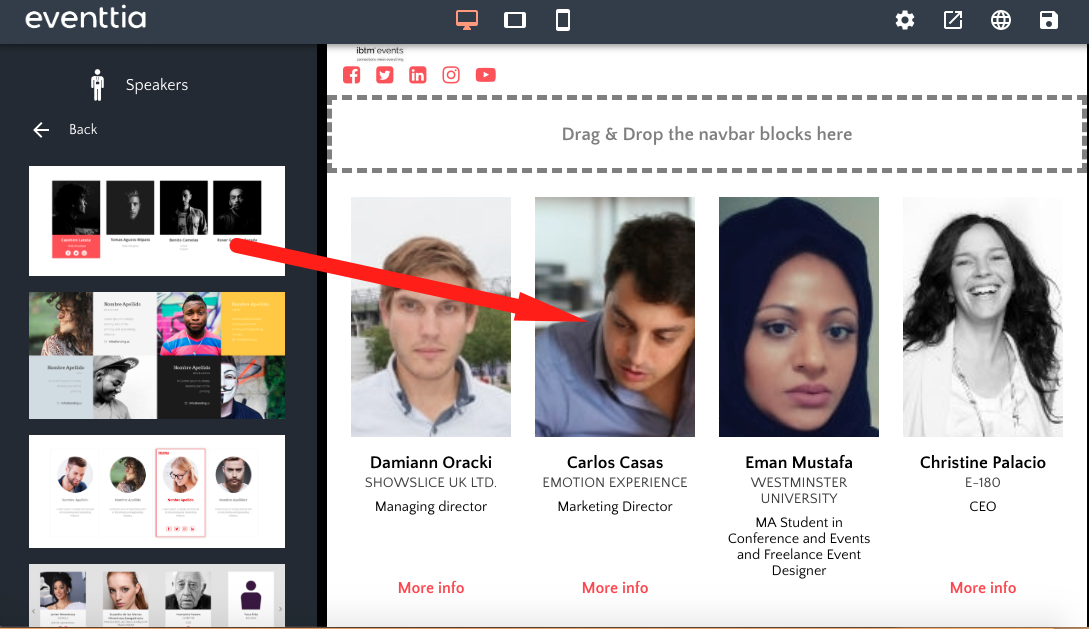
5. Speakers:
- This block shows the list of speakers you created in the Speakers module.
- Click on it and chose if you want to display them as a table, or if you have too many speakers, in a slider. Each speaker has his or her own card with biographical and social media information.
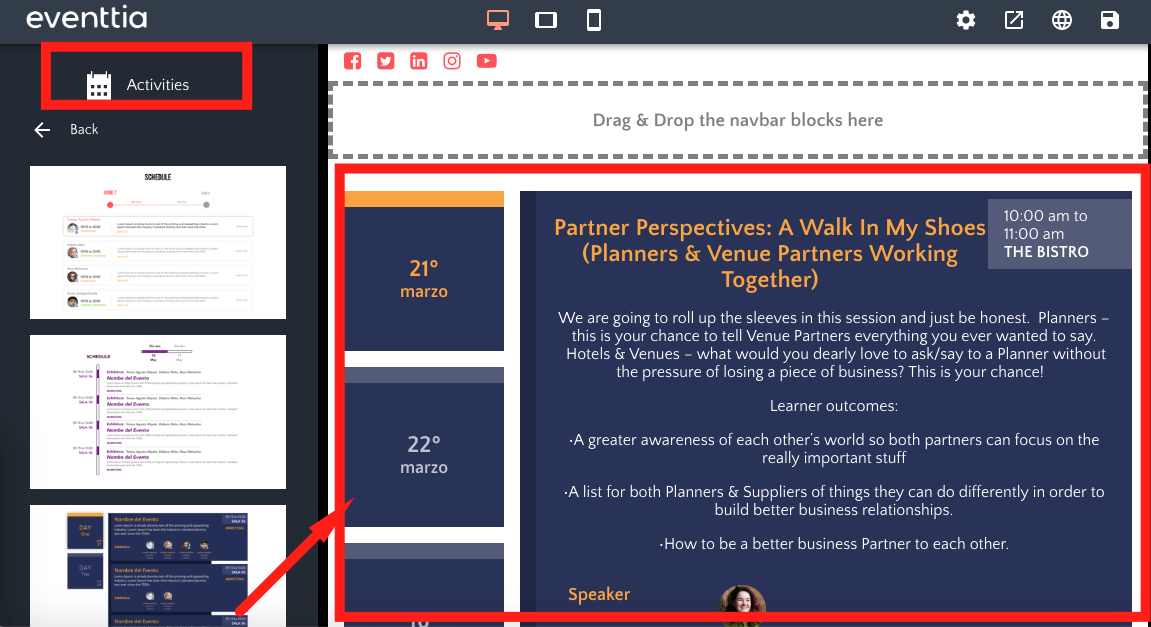
6. Activities:
- This block presents the event agenda in real time, just as you entered it in the program module.
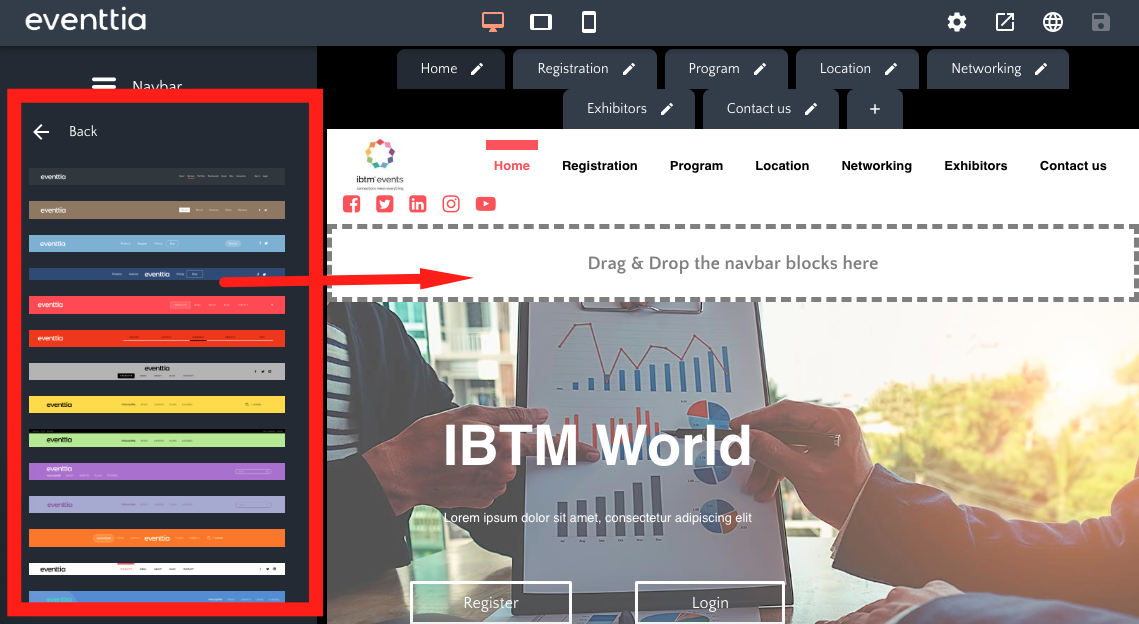
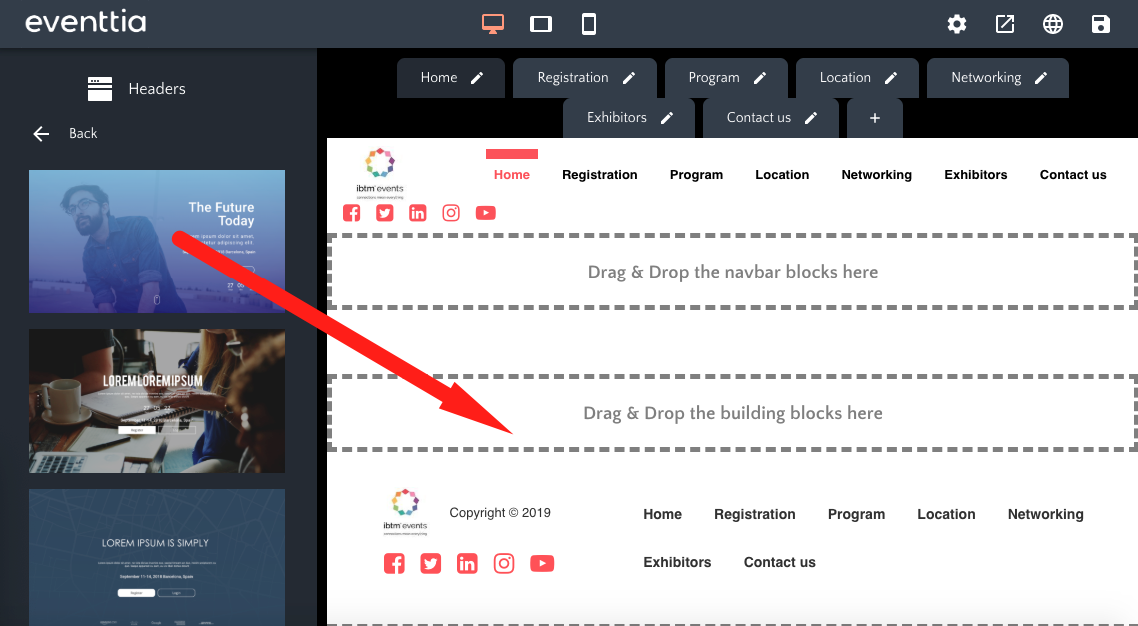
7. The Navigation bar (Navbar)
- This is the top bar of your website. It displays the titles of different sections of your website, which can be configured using the tabs found above the Navbar. Each tab can be edited using the pencil icon.

- By clicking on "Navbar", you can chose the template you like most by dragging and dropping it in the center.
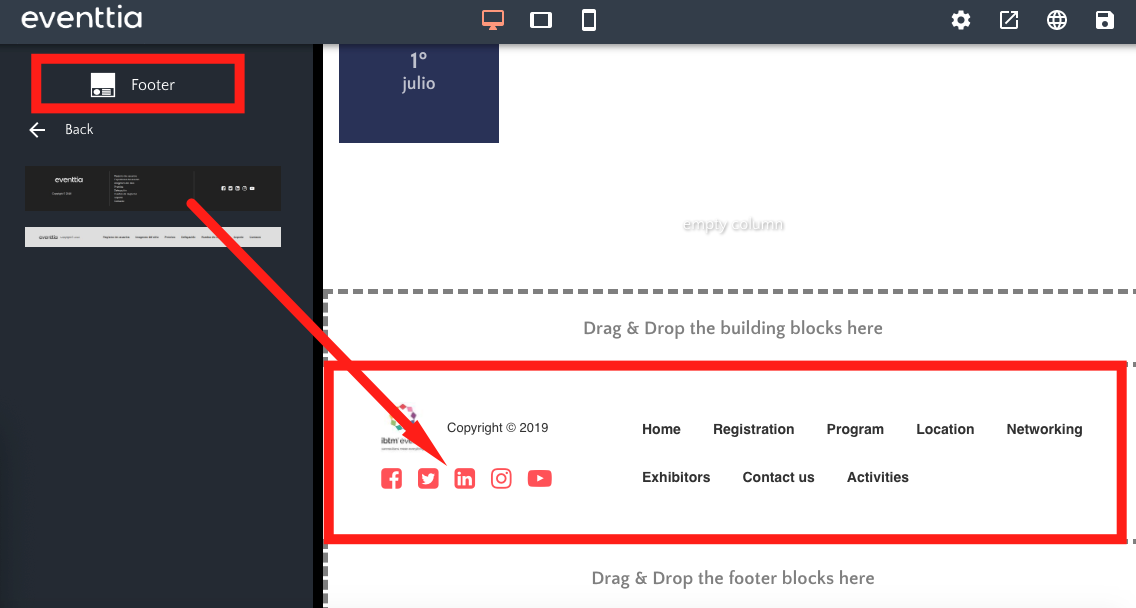
8. Footer:
- This is a simple block that allows you to add a bar with social icons with links to your profiles, at the bottom of the event page.
9. Headers:
This block will present your event basic information, such as title, description, date, logo, and contact information.
- By clicking on "Headers", you can chose a template that you like and drag and drop it in the building part.
- Some headers even include a countdown to your event, which will take the start date as configured in Eventtia Backoffice. Custom countdowns can be created with the "Custom" building block.
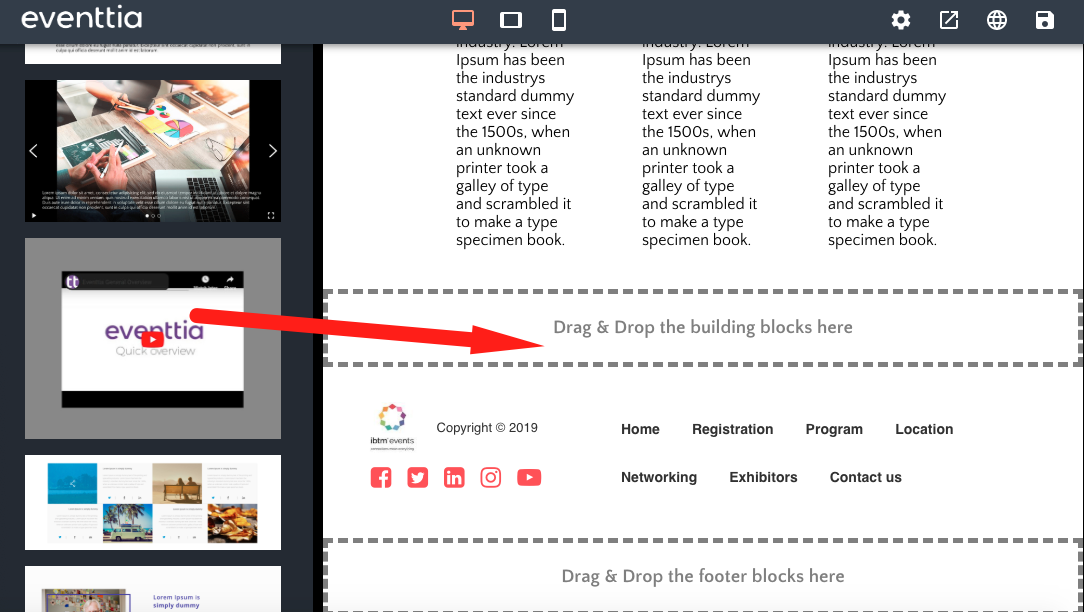
10. Custom:
If you can't find what you are looking for in the template of the different modules, maybe you need to add a custom template (see this article for more details about custom templates). You can add images, text, videos and more in the configuration that you like.
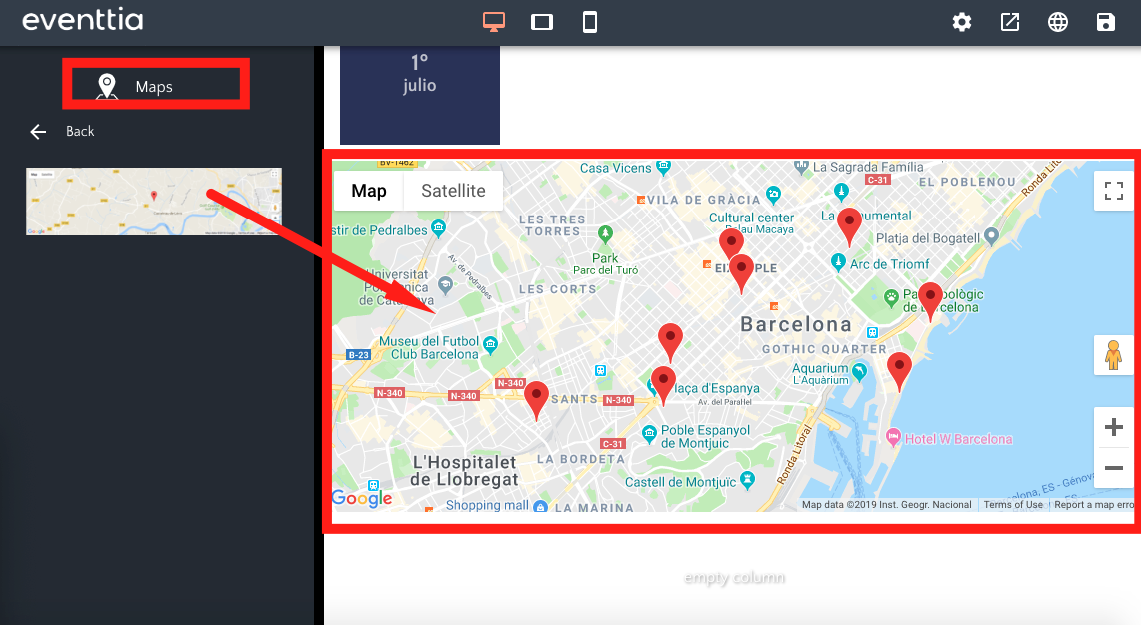
11. Maps:
- This block displays a map with the event location and the points of interest that you have configured in your Eventtia Backoffice.
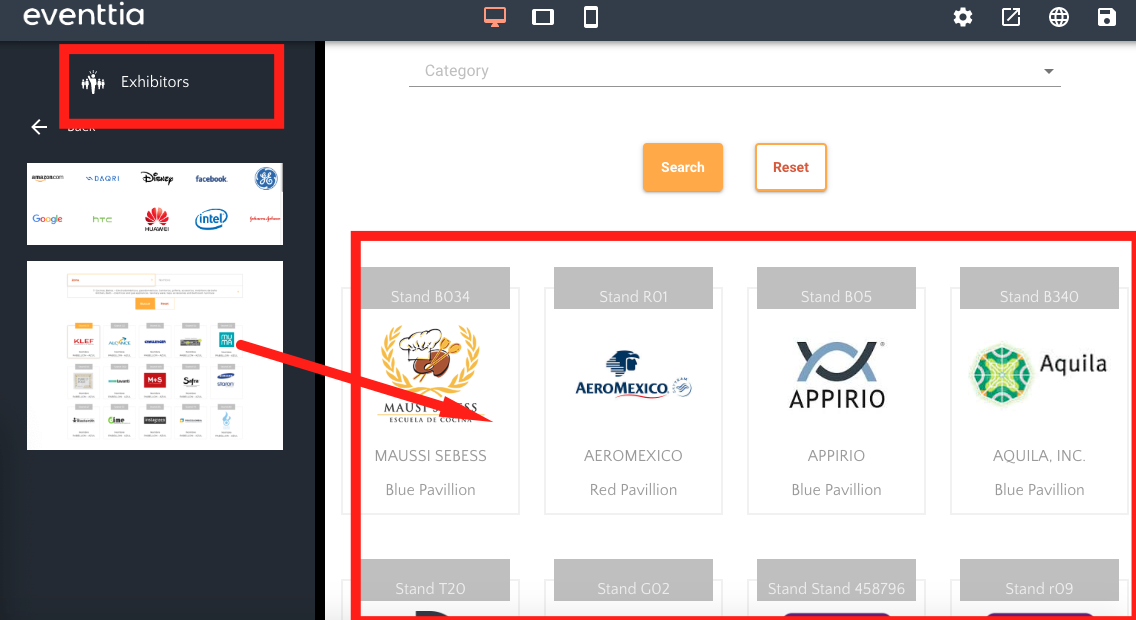
12. Exhibitors:
- This block allows you to create an online exhibitor catalog with all their information. Chose if you just want to display their logos or a card for each of them with their name, company, or any other information you choose.
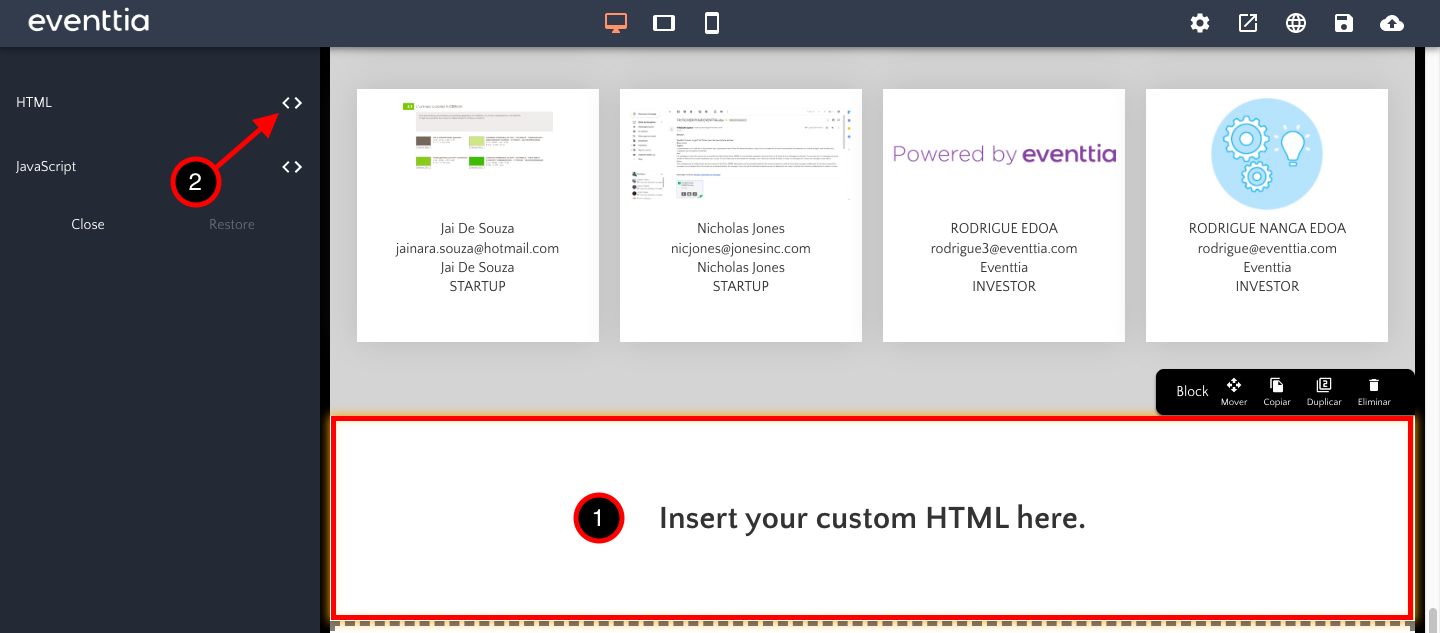
13. Free:
- Do you want to add your own customized content to your website? With this block, you can create your own HTML code to create advanced websites!
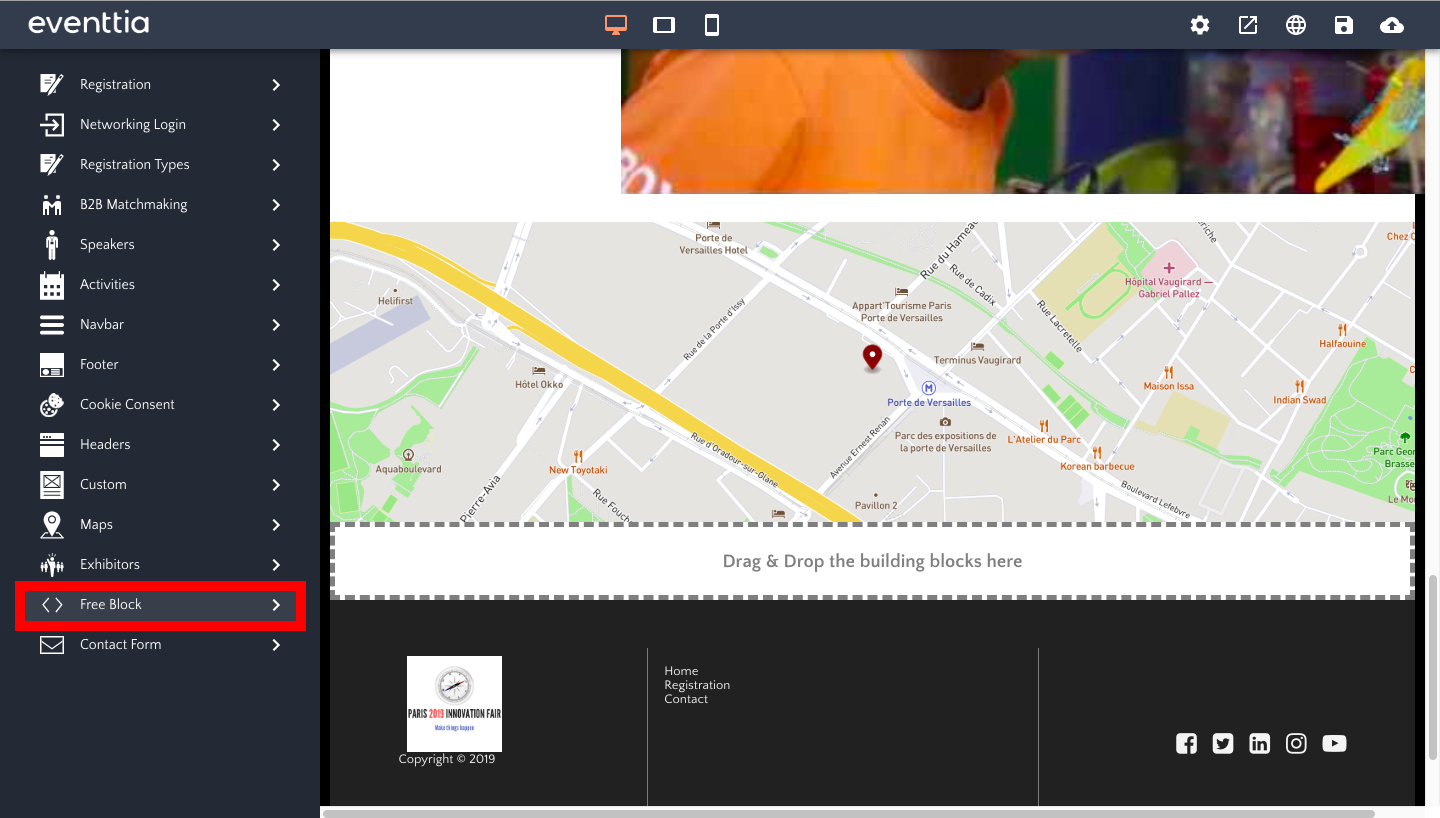
- To edit the code, first click on the block on the right, then on the two arrows on the left.
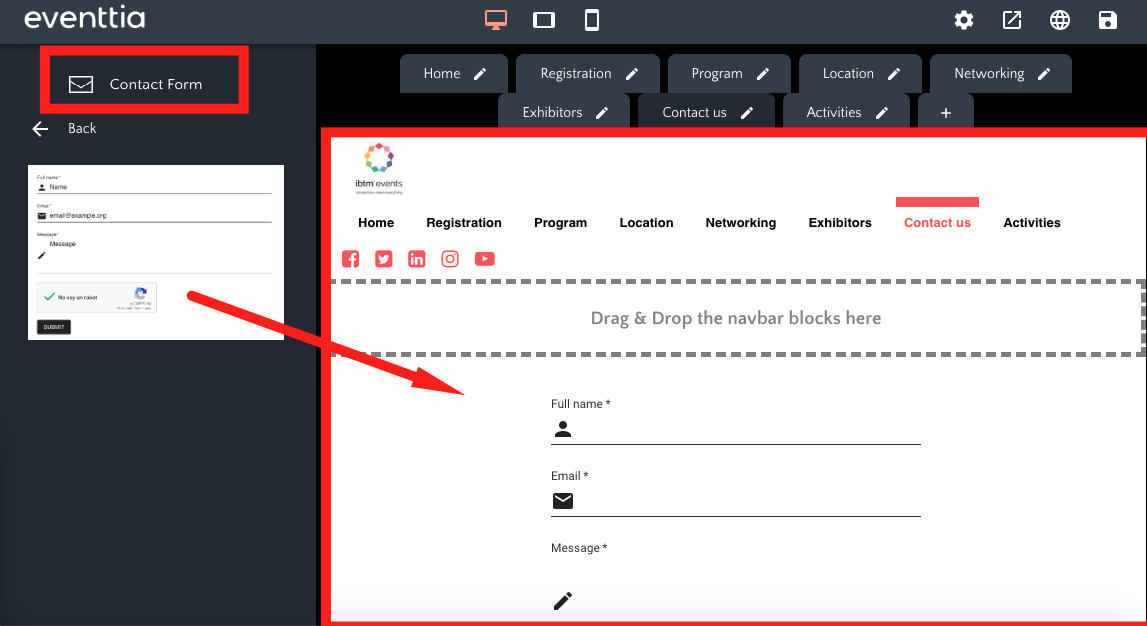
14. Contact Form:
- This block houses a contact form so visitors can reach out to you directly from the website. By clicking on the form, you can choose which email address will be contacted when someone fills out the form.