There are five different types of custom blocks:
- The empty column
- The title and text column
- The slides template
- The video template
- The image and text template
1. The "Empty Column"
This is the first template and it does not have any predetermined element. It appears totally blank when you drop it in the builder to allow you to do anything you like.
- Drag and drop the first template into the building space.
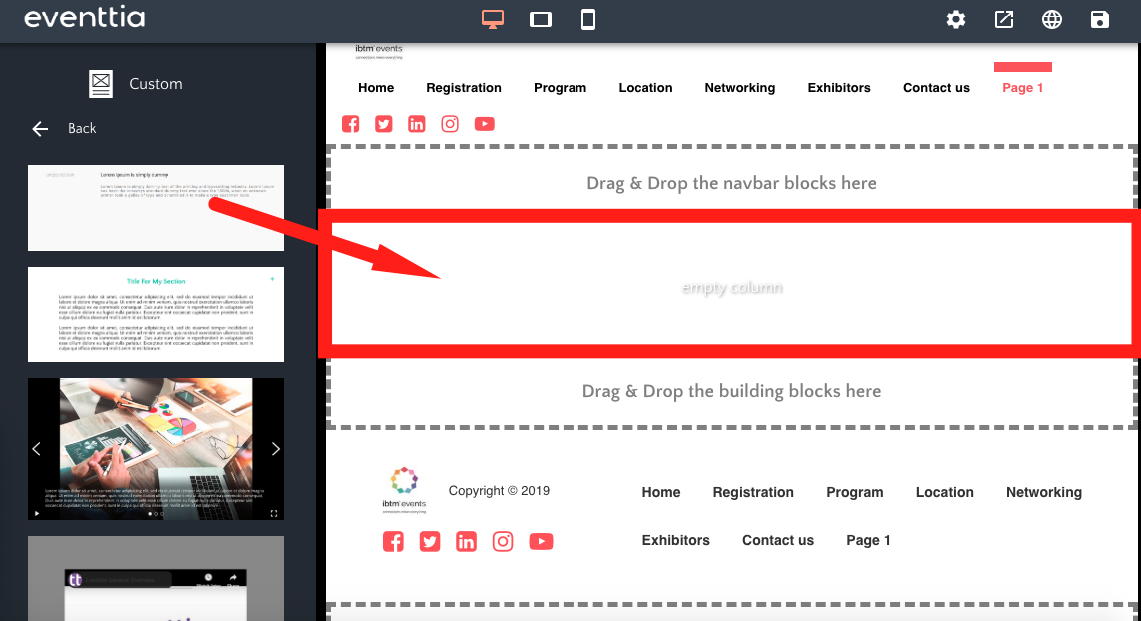
- An "empty column" appears. By clicking on it, you can add content inside by clicking on "Add content".
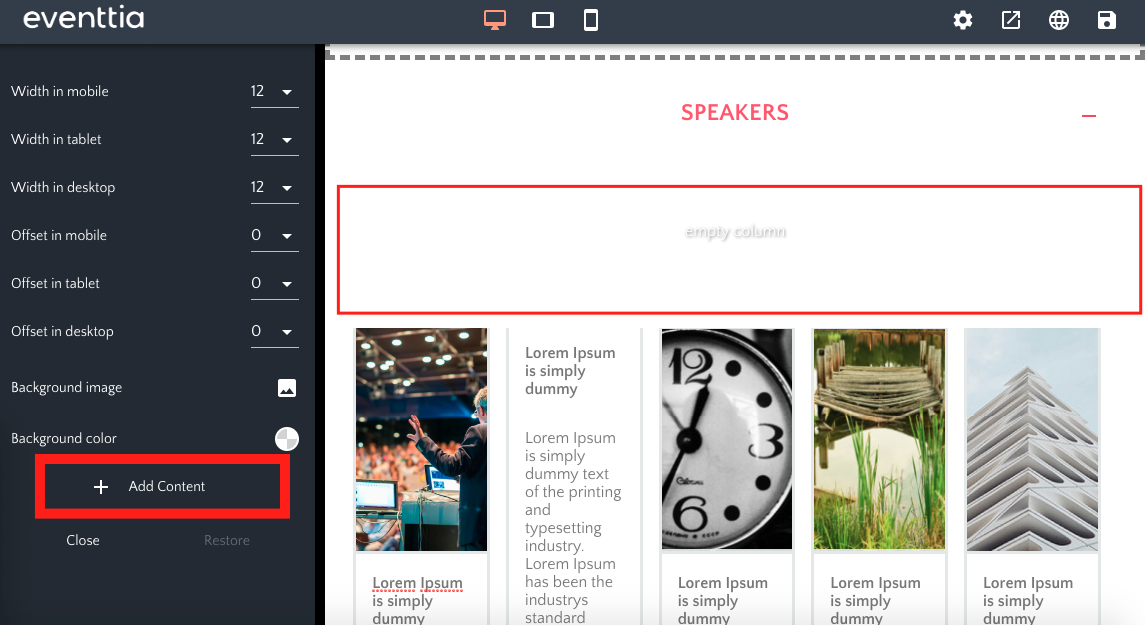
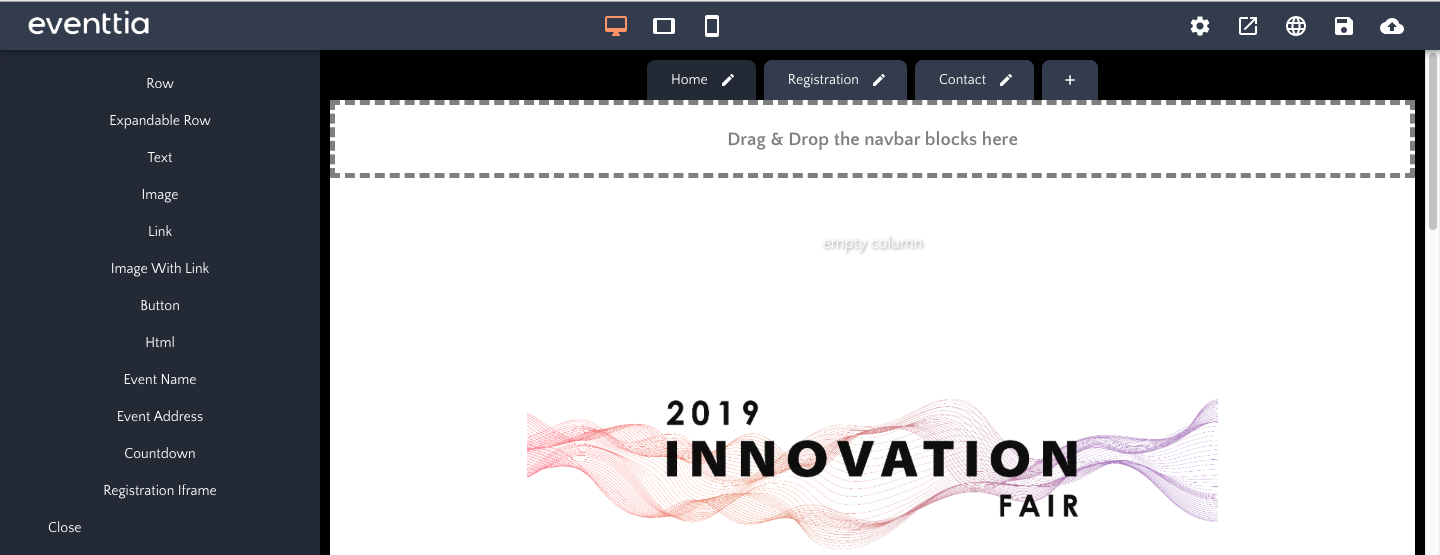
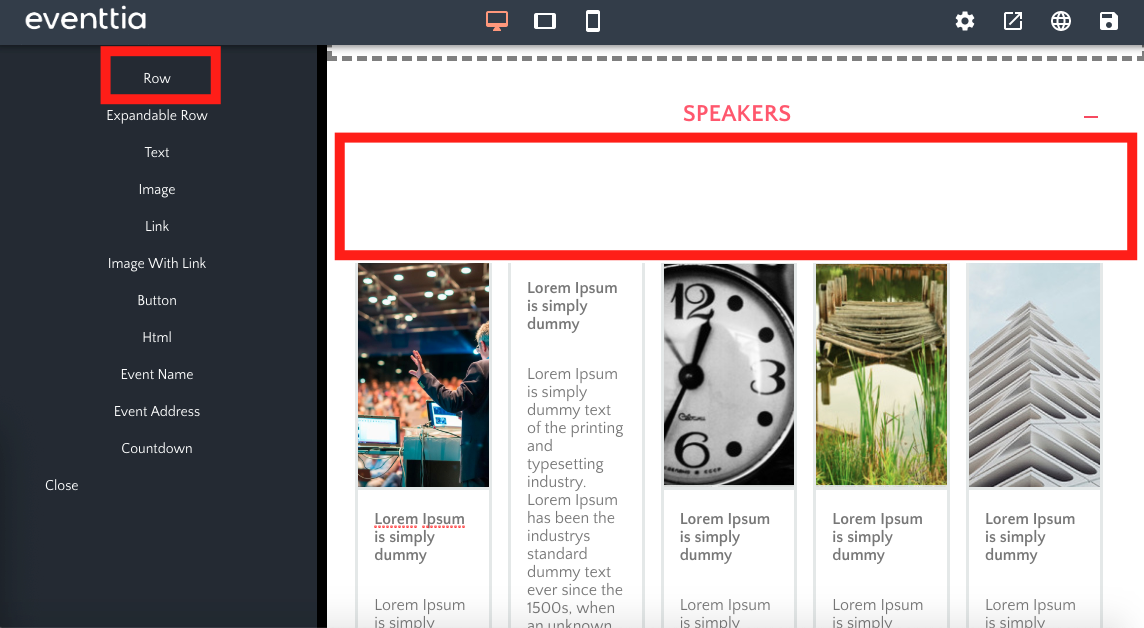
- This allows you to choose from these different kinds of custom content:
- Row
- Expandable Row
- Text
- Image
- Link
- Image with Link
- Button
- Html
- Event Name
- Event Address
- Countdown
- Registration Frame
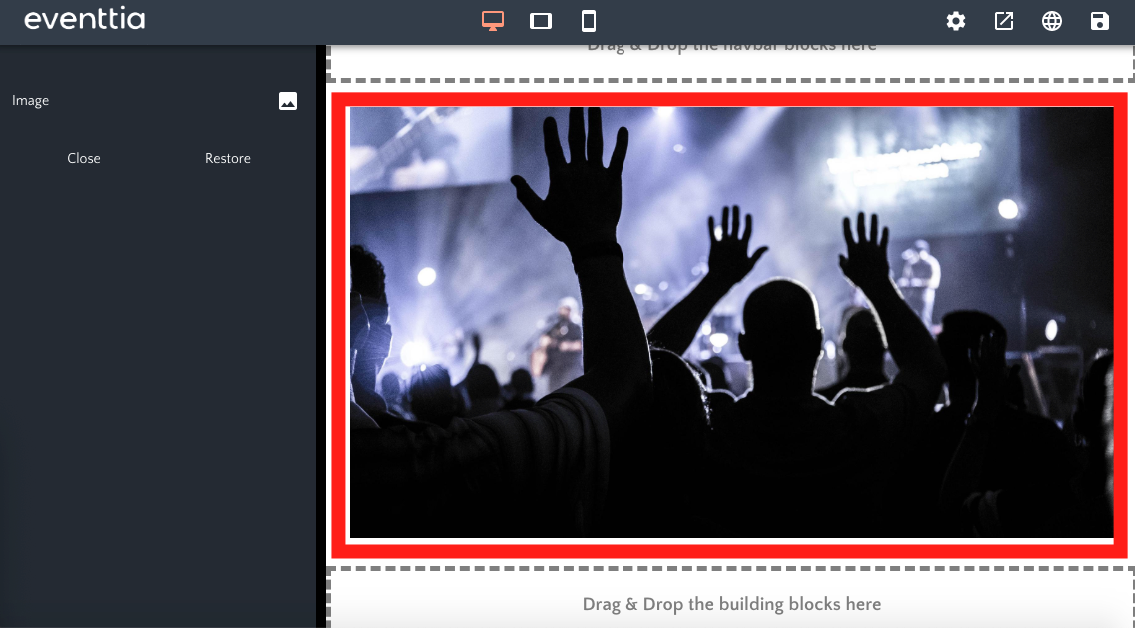
- If you choose "Image", for example, a new "image block" will appear.
- You can then select an image and the whole column will be filled by the image chosen.
- If, however, you want to manage the size of the different blocks you add, you need to add a "Row" first. To do that, click on the column and then on "Add contents". But instead of choosing "Image", chose "Row".
- Click on the row you have just added and then on "Add Content". Then, click on "Column".

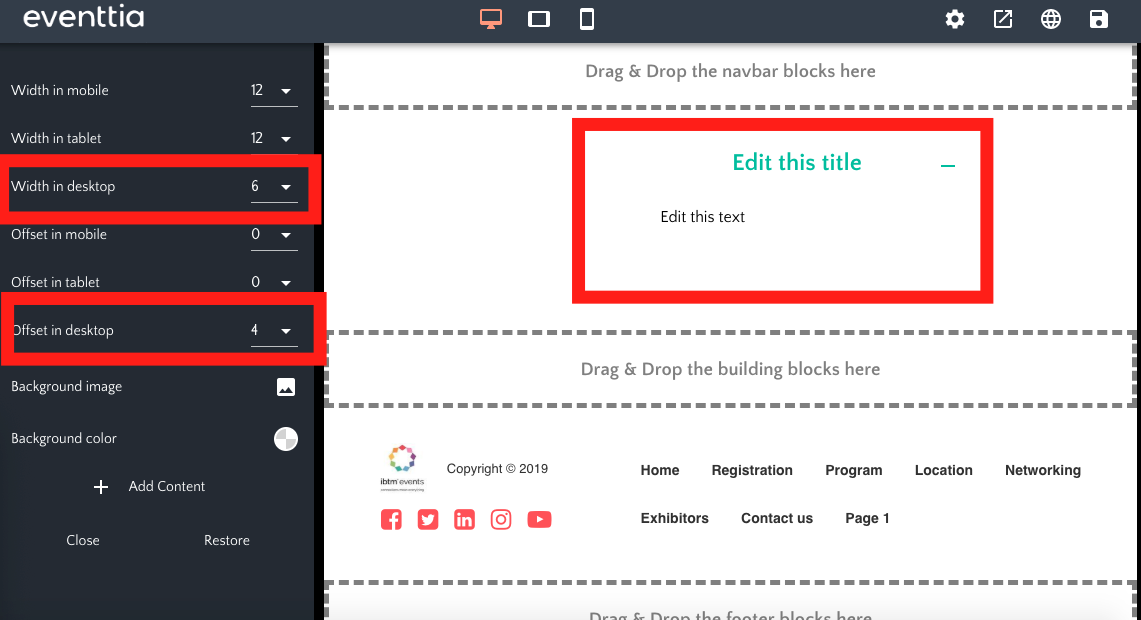
- A new square "Column" appears. You can add content in the column and edit it through the configuration panel:
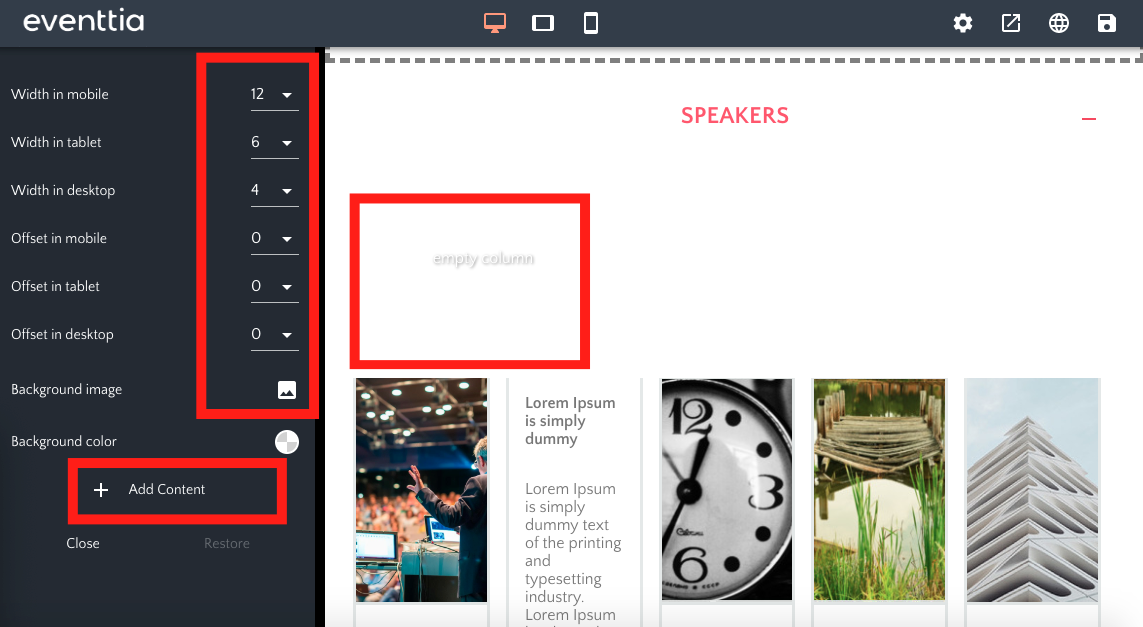
- The first lines of the configuration panel allow you to chose the width of the column:
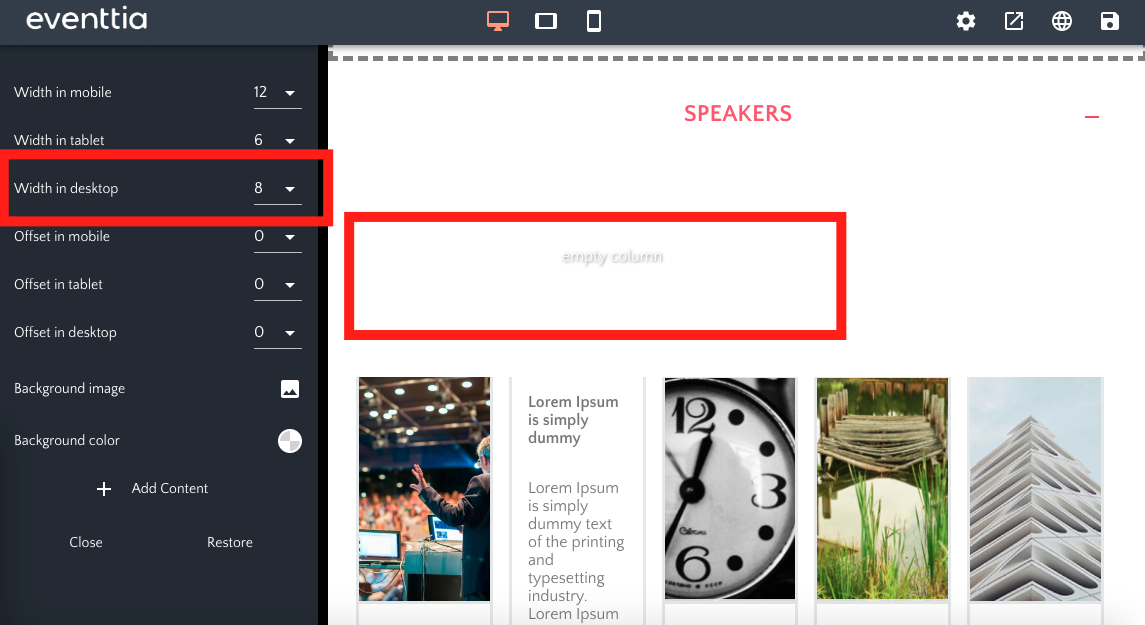
- The "Offset" lines allow you to position the column where you want inside the row:

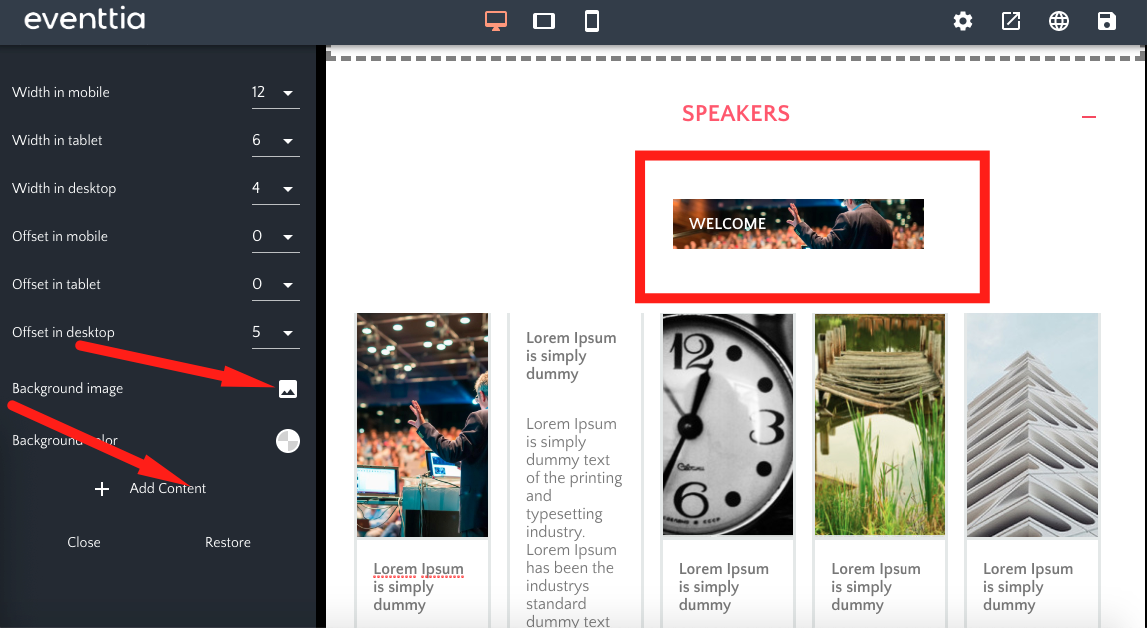
- You can chose a background image and put text on it by clicking on "Add Content" then on "Text".
- Create as many columns as you want inside your row:
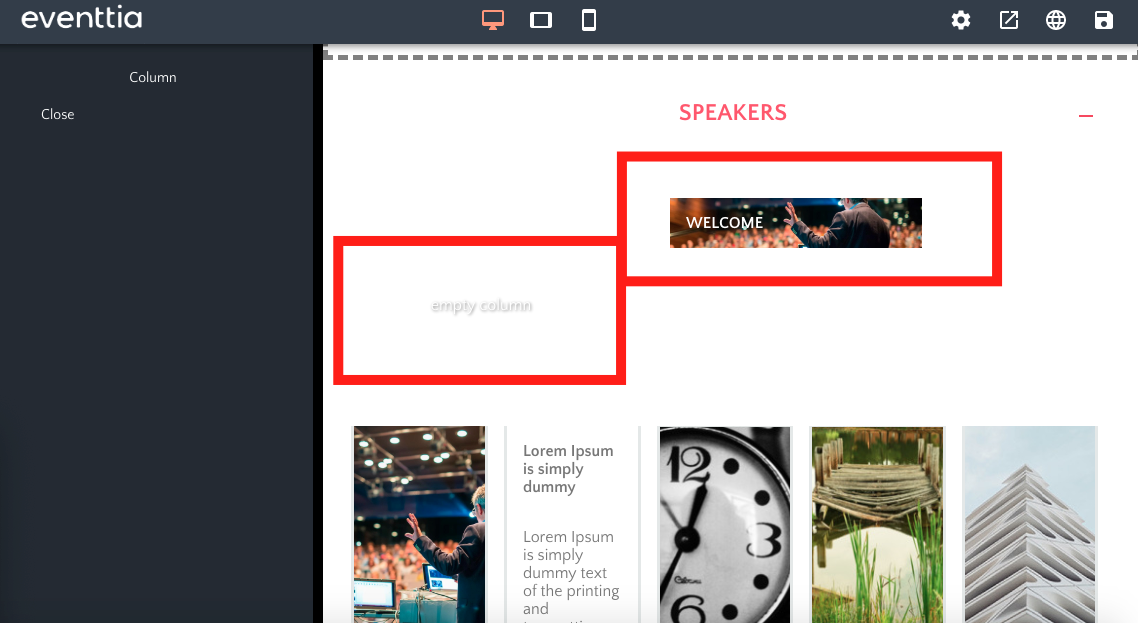
- Move each column according to your taste by putting the mouse on the column you wish to move, without clicking. A little panel appears with the options to : delete the column, duplicate it, copy it or move it. The move works by dragging and dropping.
2. The title and text column
- This is the second template. It allows you to insert a block with a title and text below.
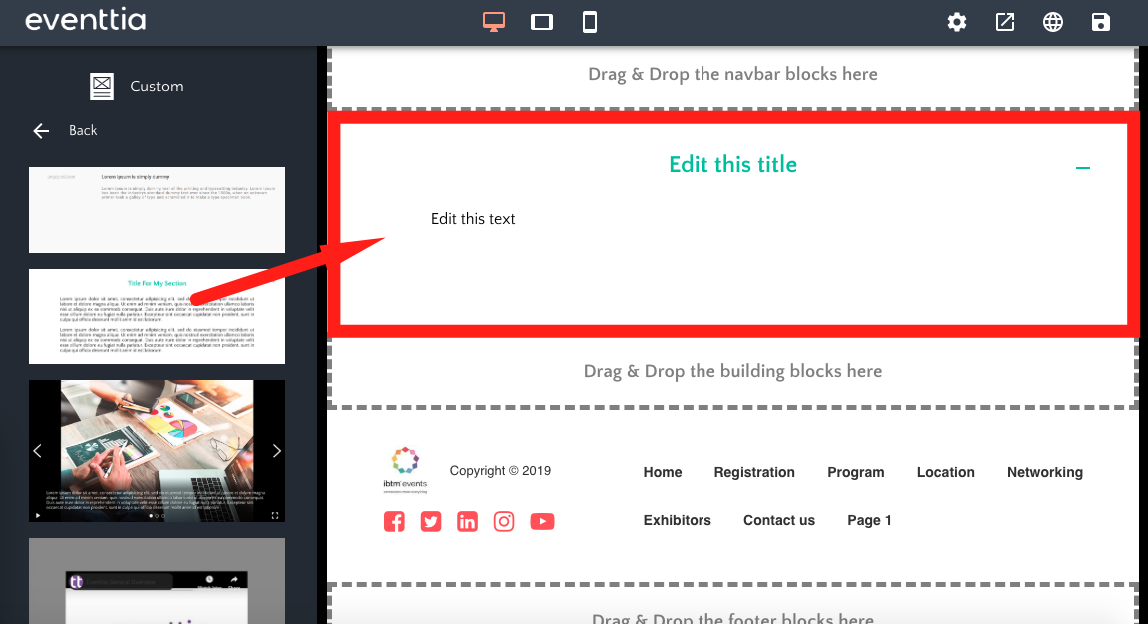
- By passing your mouse over the zone where the template appears, you can click on the "column" and change its size and its position. You can also add content in it or a background image.
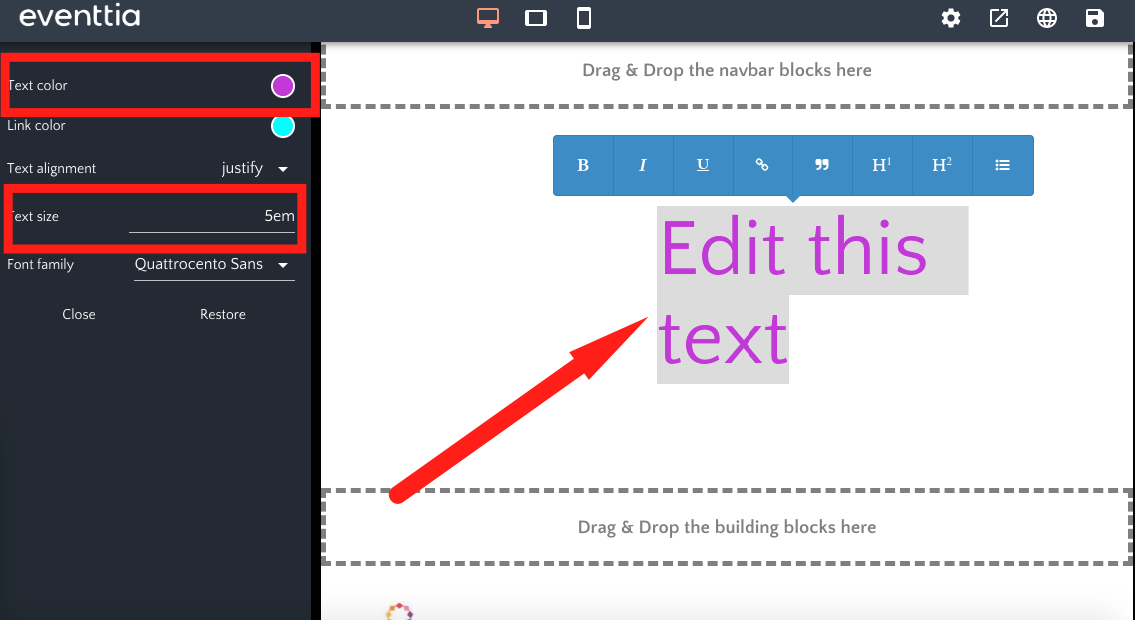
- Double click on the text to edit it, change its size or/and its color. It works the same way for the title.
3. The slides template
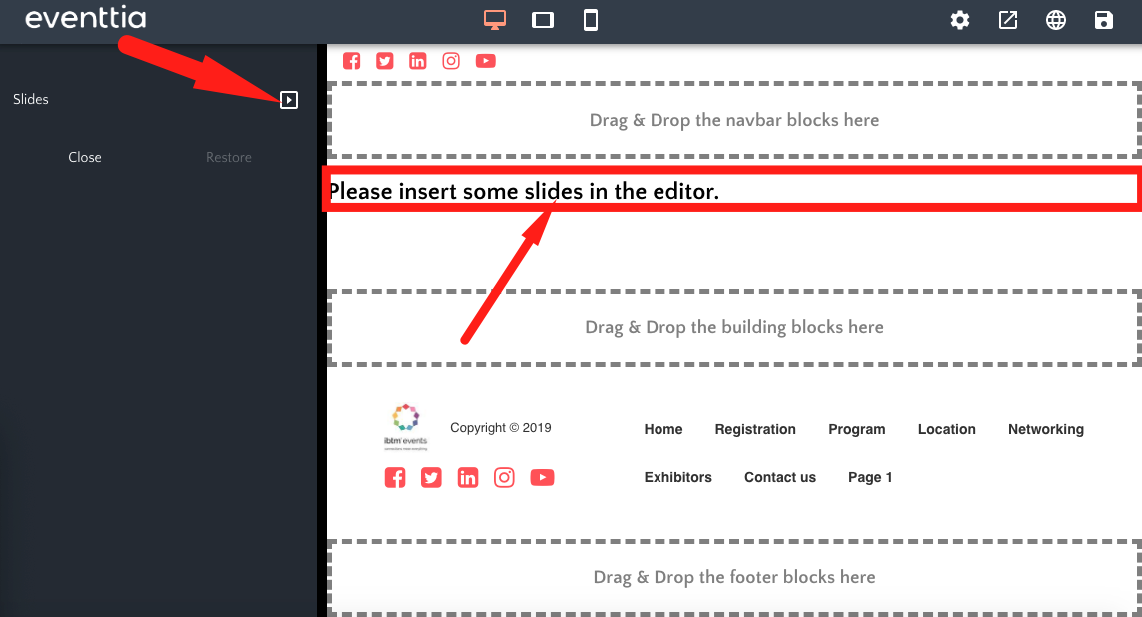
- This is the third template. It allows you to add a block with slides.

- Click on the sentence "Please insert some slides in the editor". The configuration panel opens. Then click on "Manage Slides".
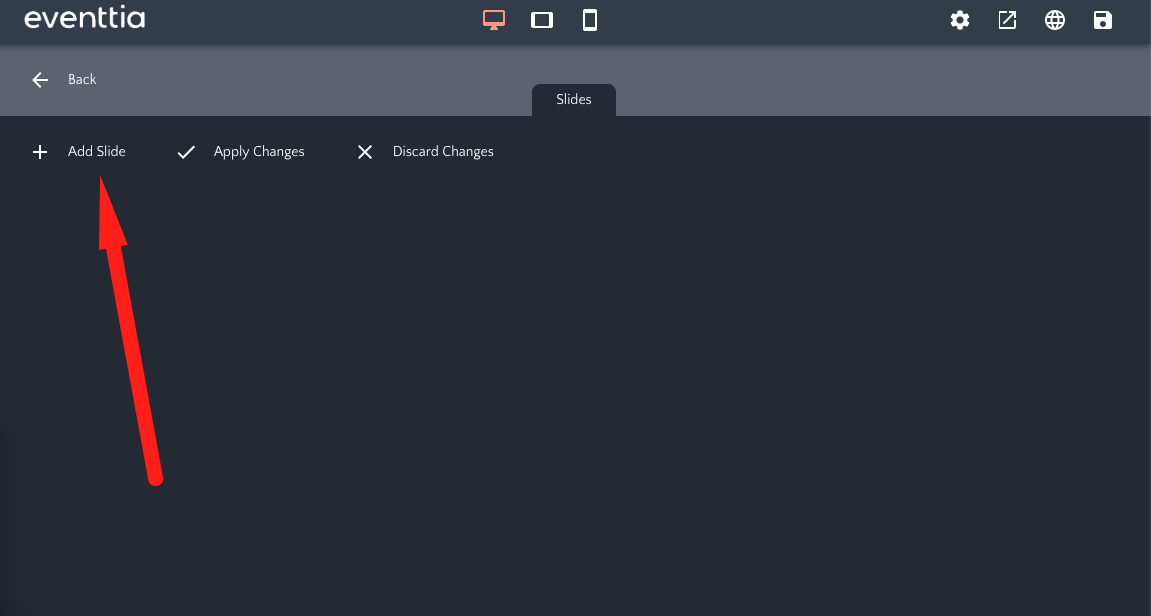
- A new window open. Click on "Add Slide" and fill in the image URL and text if you want.
4. The video template
- This is the fourth template. It allows you to embed a video into your website.
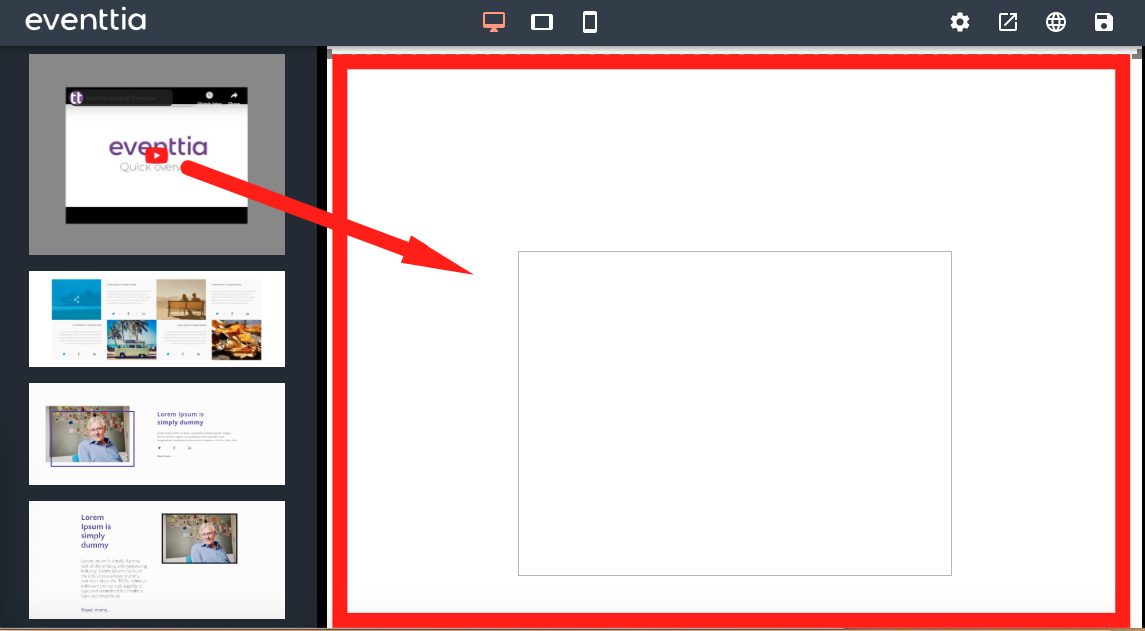
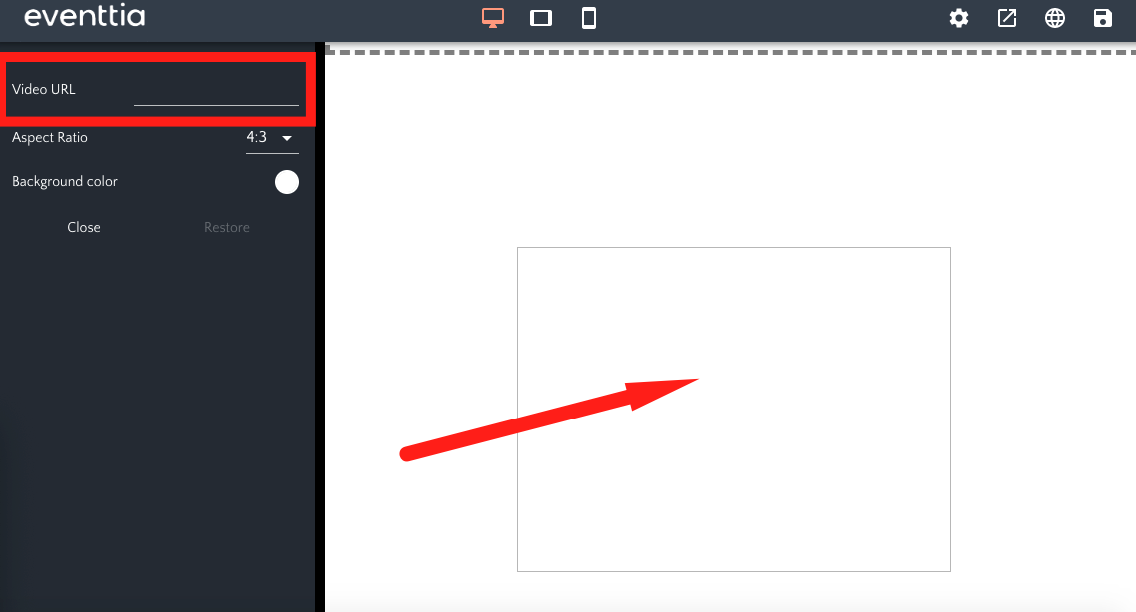
- Click in the square inside the block you just added and, in the configuration panel, fill in the Video URL.
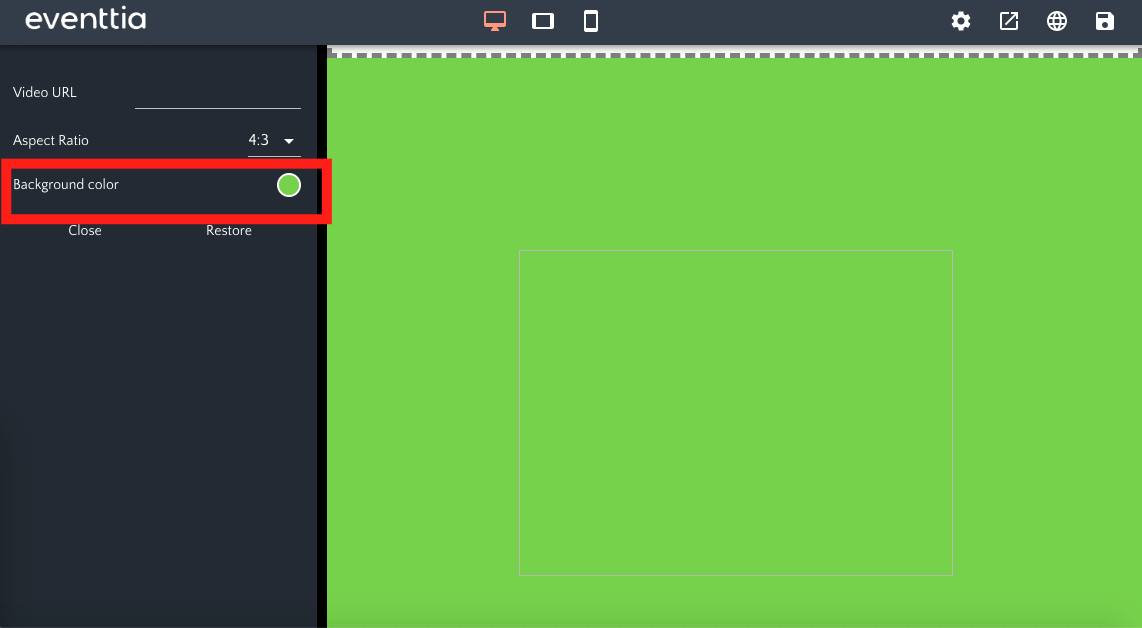
- You can change the background color of the block if you want:
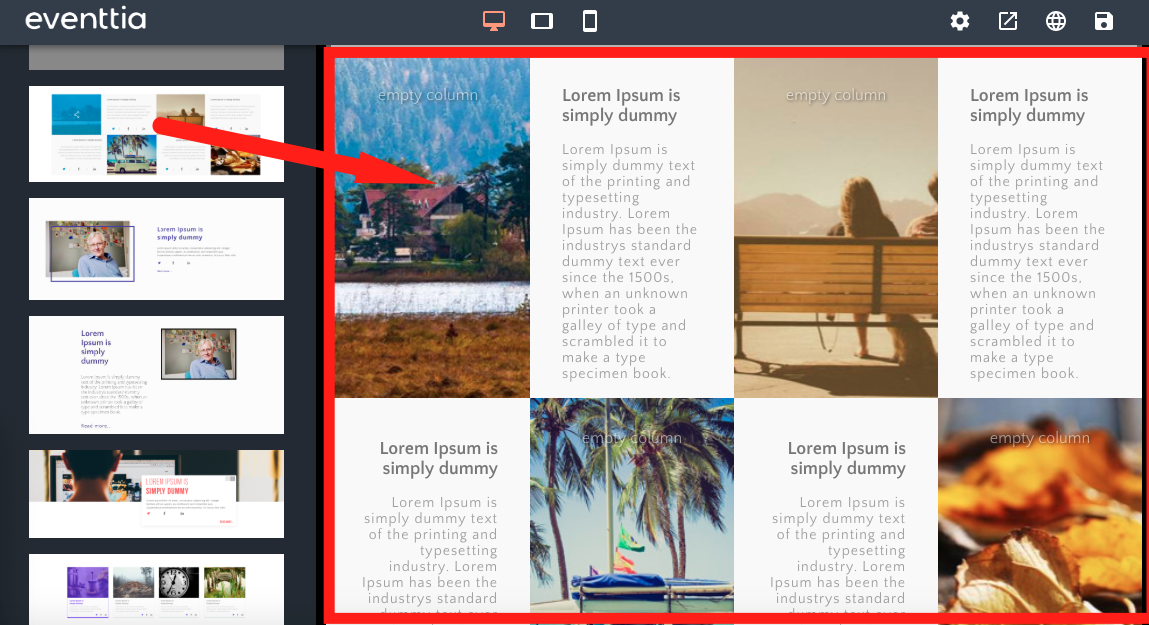
5. Image and text template
- You have several templates allowing you to publish images accompanied by text. It is useful for presenting different activities, or different speakers. Just choose the template which you like the most and drop it in a building block.
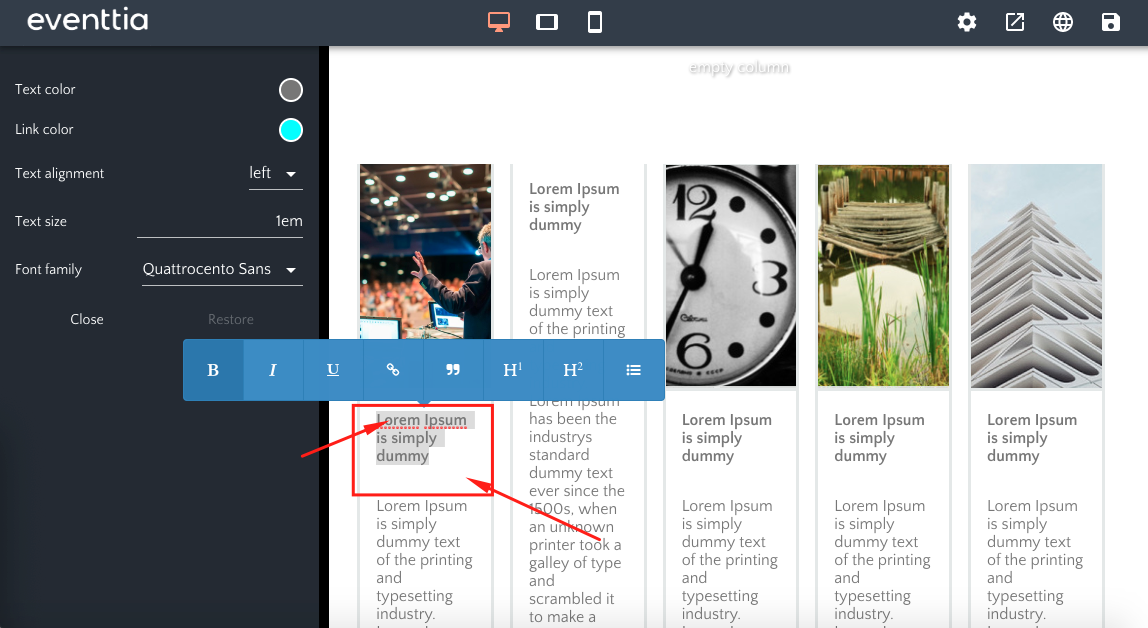
- The editing of both texts and images works as in the preceding templates, by clicking on the element you want to change and modifying it in the configuration panel.
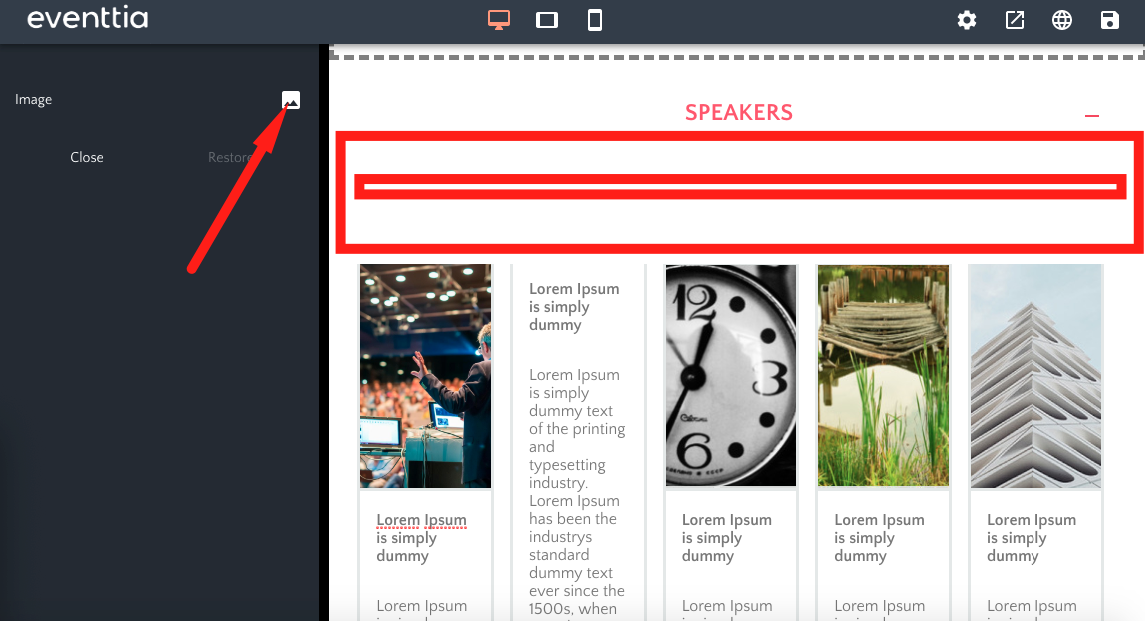
- To change the already existing image, click on it, and then, in the configuration panel, click on the picture-shaped "Select an image" button.
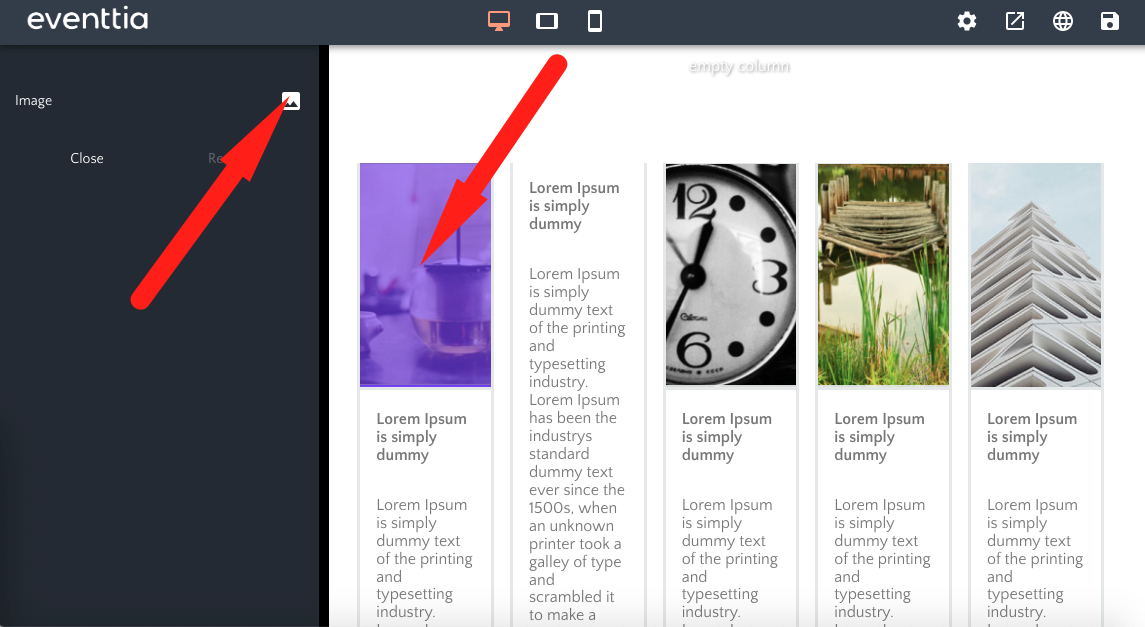
- You can then select an already existing image of your choice or upload one from your computer.
- If you want to change the text, click on the box containing the text to be changed and then click on the text itself to start writing what you like.