Here are the steps to follow:
Step 1.
-
In the "Registration" module, go to the "Type" category.

-
Click on the type of participant for which you want to configure the registration form.
-
You can also create a new type of participant if needed: Click here to learn how.

-
Once the form is open, go to the "Registration Form" tab
Step 2.
Eventtia proposes by default some fields (For example: Name, first name, Email, Company ...) but only the first three are always obligatory.
-
You can create new fields if needed by clicking on the green button "New" at the top right-hand corner of the screen, but you can also edit an existing field, rename it and change its configuration. To do this, click on a pencil-shaped edit button on the relevant field.

When you create a new field, or edit an existing one, you can:
-
Hide fields that are not useful to you.
-
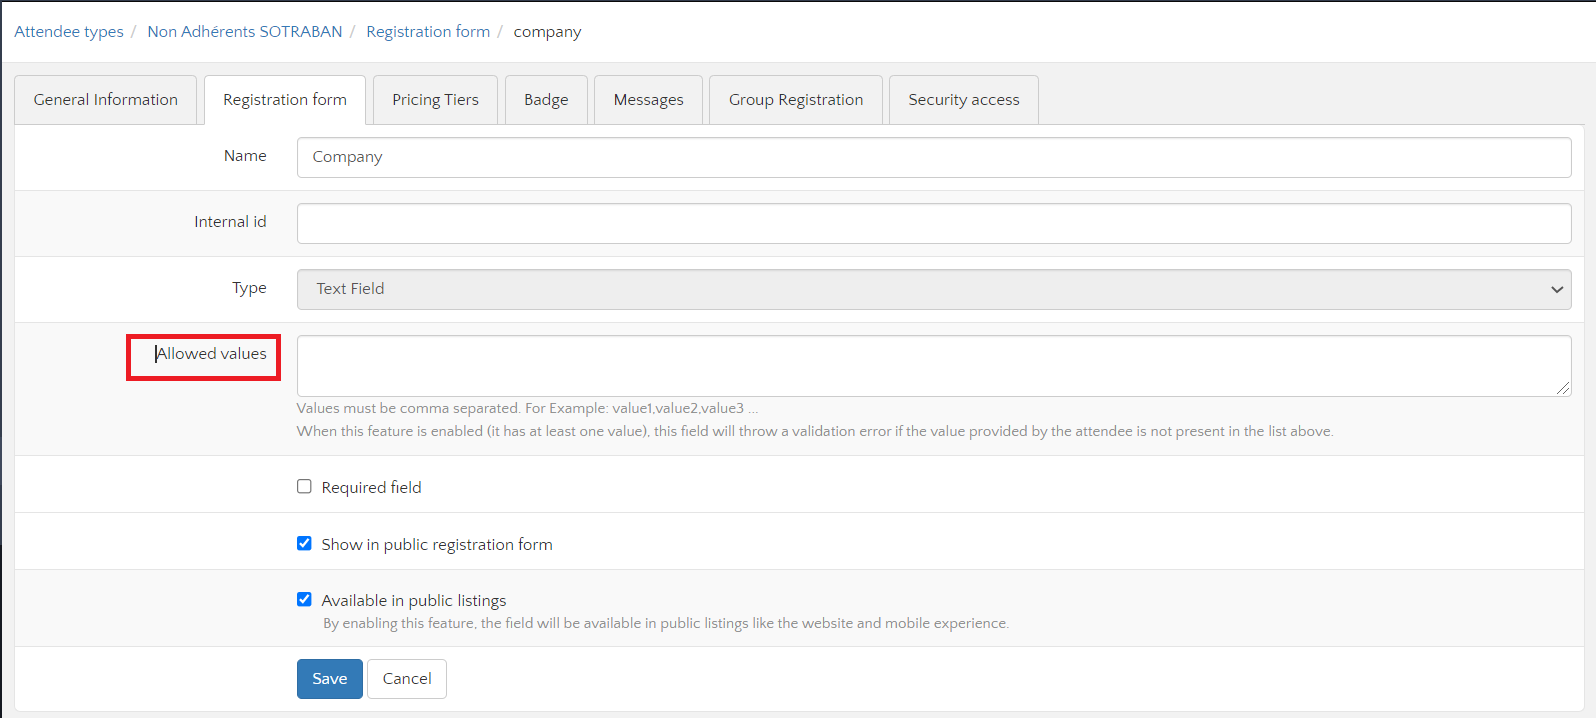
Determine whether a field is required or not by checking the box "Required field".
-
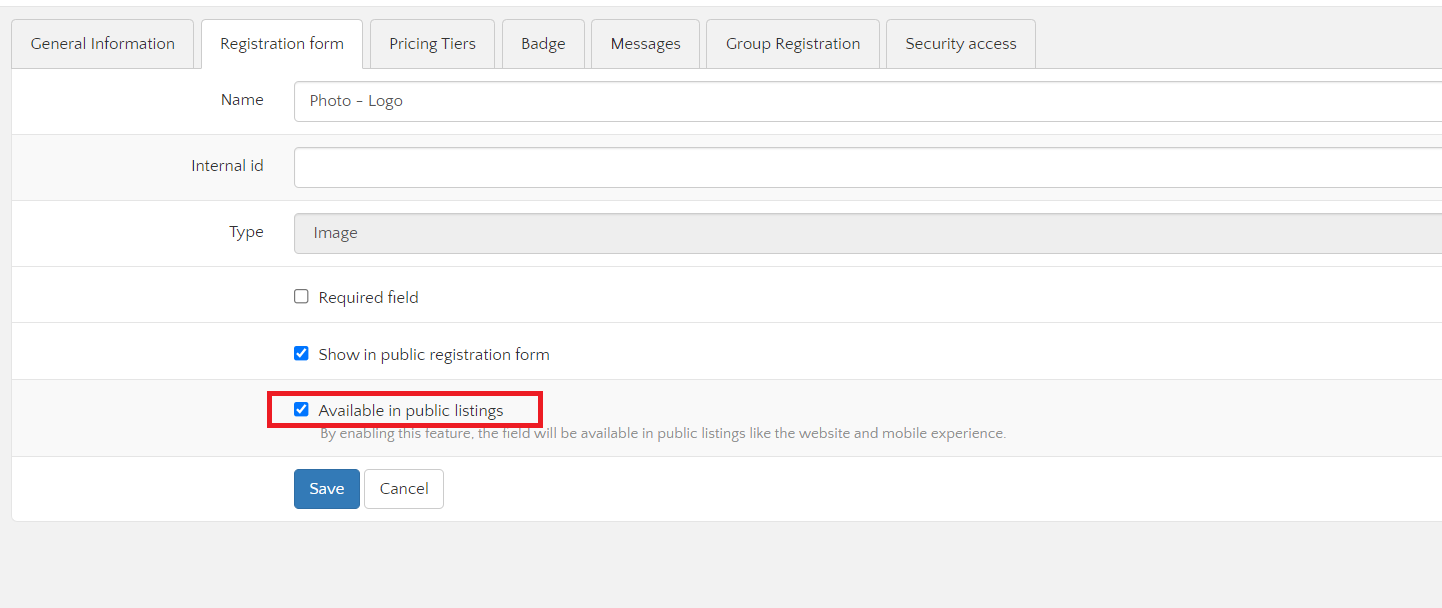
Choose either you want the information for this field to be visible for the participants in the virtual stage and the website or not, by checking/unchecking the box " Available in public listings"
In the email field, the option "Allow duplicate values" can be enabled to allow multiple participants to register with the same email address. However, this setting should not be used if the event includes networking activities.

You have the option to create the following types of fields:
-
Text field: One line of text (Use it to collect short answers)
-
You can set some specific values to be input by the participant for this field if you wish to.
-
-
Text area: A space for longer text
-
Dropdown list: Drop-down menu with configurable options of which the participant can choose one.
-
Multiple Selection: A list of configurable options of which the participant can choose several.
-
Image: JPG and PNG files are accepted (up to 5MB).
-
Plain text: An explanatory text in the middle of your form (Ex: thank you for answering these questions about your trip).
-
Datetime: Allows your participants to enter the date/time which would work best for them.
-
City: Value composed by three consecutive fields: Country, region and city.
-
File: All file types are accepted up to 10MB.
-
Terms and Conditions: Add either a file or a URL (if your Terms and Conditions are online), so that your participant can access the Terms and Conditions from the registration form.
If you want any field to be required to validate the form, check the "Require field" box. If you want to hide the registration form field, uncheck the "Show in public registration form" box.