Step 1.
-
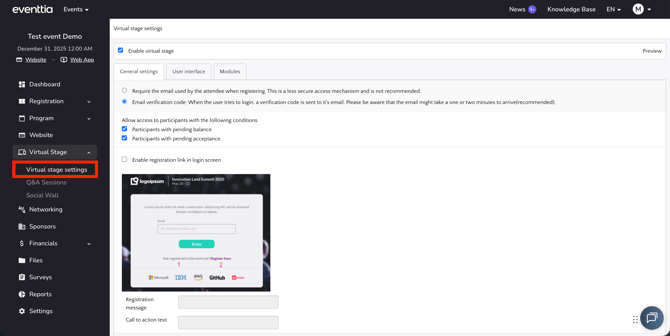
Go to the module “Virtual Stage” and click on the "Virtual stage settings” section.
Step 2.
-
Once selected the "Virtual stage settings”, go to the section called “Modules”.

Step 3.
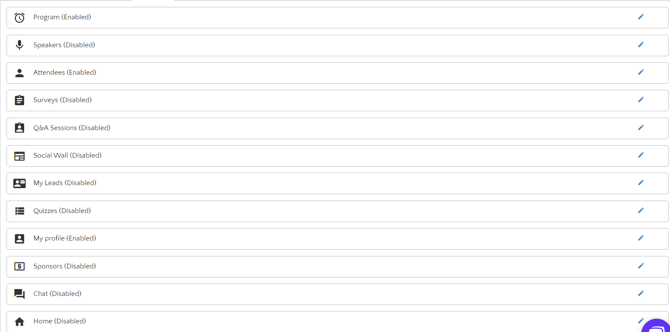
In the “Modules” section you will find the different tools to offer a better experience in the Virtual Stage for your attendees. Click on the pencil next to each module to set up the options and enable them.
-
"My profile": On this module participants will be able to see their own profile when accessing the Virtual Stage. They will also be able to correct any information they wish previously submitted on their Registration Form
-
"Home": You can use this module as a Welcome Page for your participants, you can also add a personalized lobby, ask your CSM for the options we have available.
-
"Program": On this module your participants will be able to see the Program of your event, if you have Networking on your event they will be able to see their Networking agendas as well
-
"Speakers": The attendees will be able to visualize the speakers in the event, see their photos and biography. To know how to set up the speakers, go to this article Add your event speakers - Eventtia Knowledge Base.
-
"Attendees & Networking": Here you will find the attendees of the events and if the Networking module is activated, here is where your participants will request meetings to each other.
-
"Surveys": This will be useful if you want the attendees to evaluate the event. Remember that to activate this module in the Virtual Stage, first you have to set it up. Go to this article to know how to do it How to create a survey? - Eventtia Knowledge Base
-
"Q&A Session": If you wish to have a Q&A session with your participants activate this module. Go to this article to learn exactly how it works.
-
"Social Wall": This is a space created for the interaction between participants here they can upload pictures and comments regarding their experience during their event
-
"My Leads": With this module your participants will be able to retrieve information from participants they want to connect with after your event
-
"Quizzes": Use this module to share quizzes with your participants
-
"Sponsors": Here the attendees can see the sponsors or partners of the event, their logos and general information. Learn here everything you need to know about creating Sponsors
-
"Chat": It is activated when we want the attendees to communicate. You can create different chat channels and select which attendee type you want to be able to see it.
NOTE : Remember that the names of this modules are predetermined, if you want to customize it, just click on the pencil to edit it.