Tip: The background image should have the following maximum dimensions: 1905x2694
The recommended size for stickers could be 5,4 x 7.0 cm or 5,9x10.5cm
Here's how you can do it:
Step 1.
- Go to the "Registration" module and click “Types”.

Step 2.
- Choose an attendee type and click its card.

Step 3.
- Go to the "Badge" tab.
- Choose the Printer type. If you go for "DeskJet", you can choose the Orientation (Portrait or Landscape), and the Paper Type (Letter or A4).

Step 4.
- Build your badge using the different Tags at your disposal below the editor.

- With "DeskJet" printer type, you can also insert Logos and images.
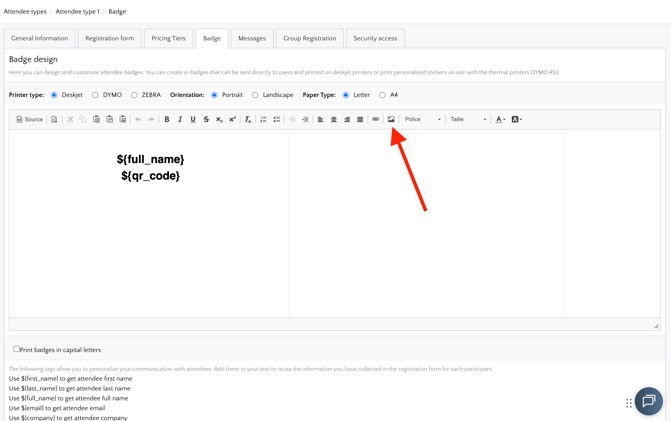
Step 5.
- Decide if you want to print badges using capital letters or not.
Step 6.
- Click on "Save". You'll generate the badges automatically without having to manually introduce any attendees’ information.
- You would be able to send the badges to your participants in an email or you can print them yourself: How to print Badges
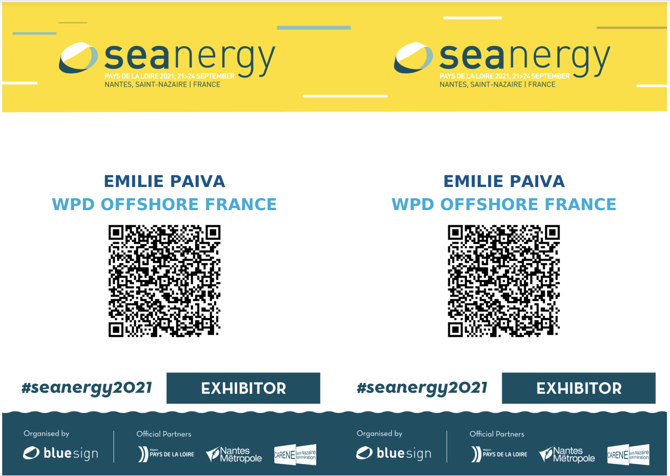
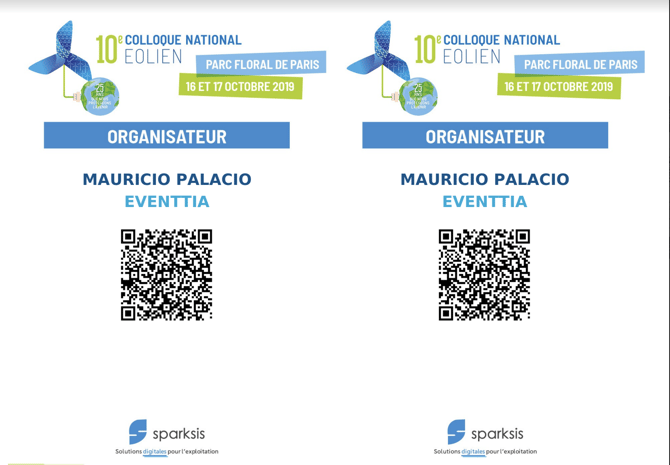
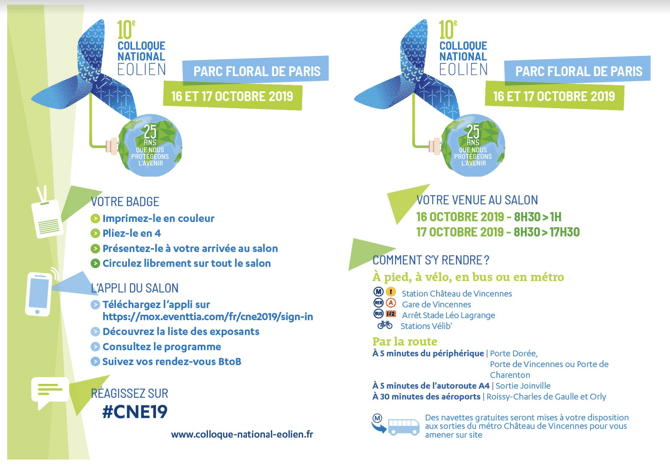
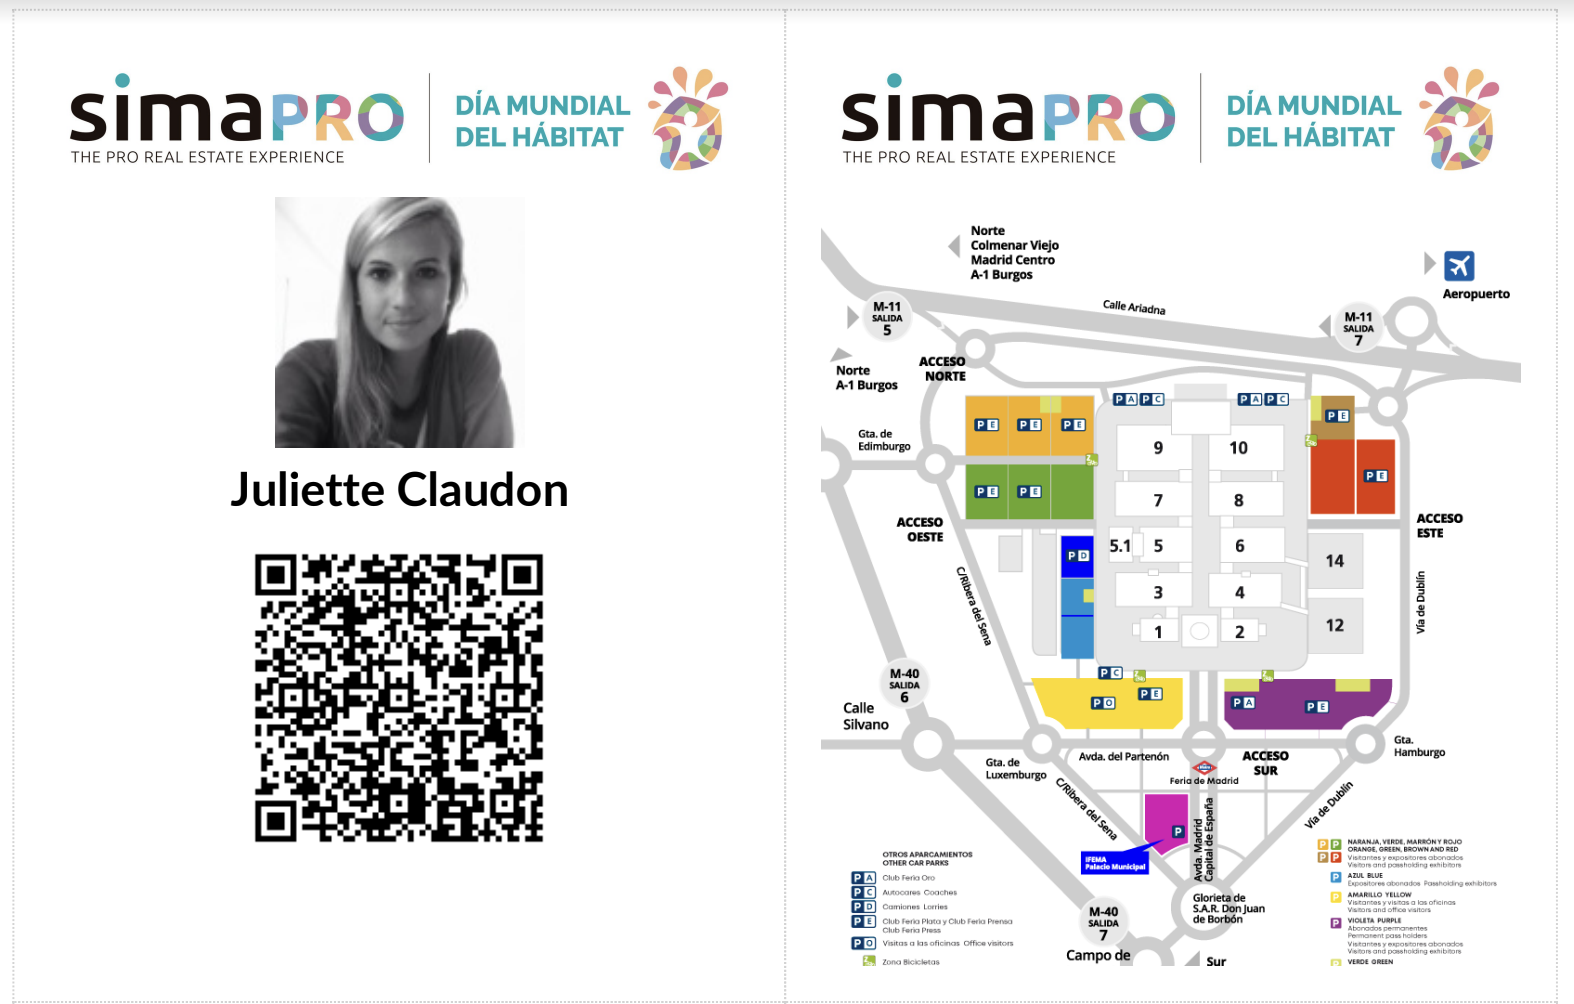
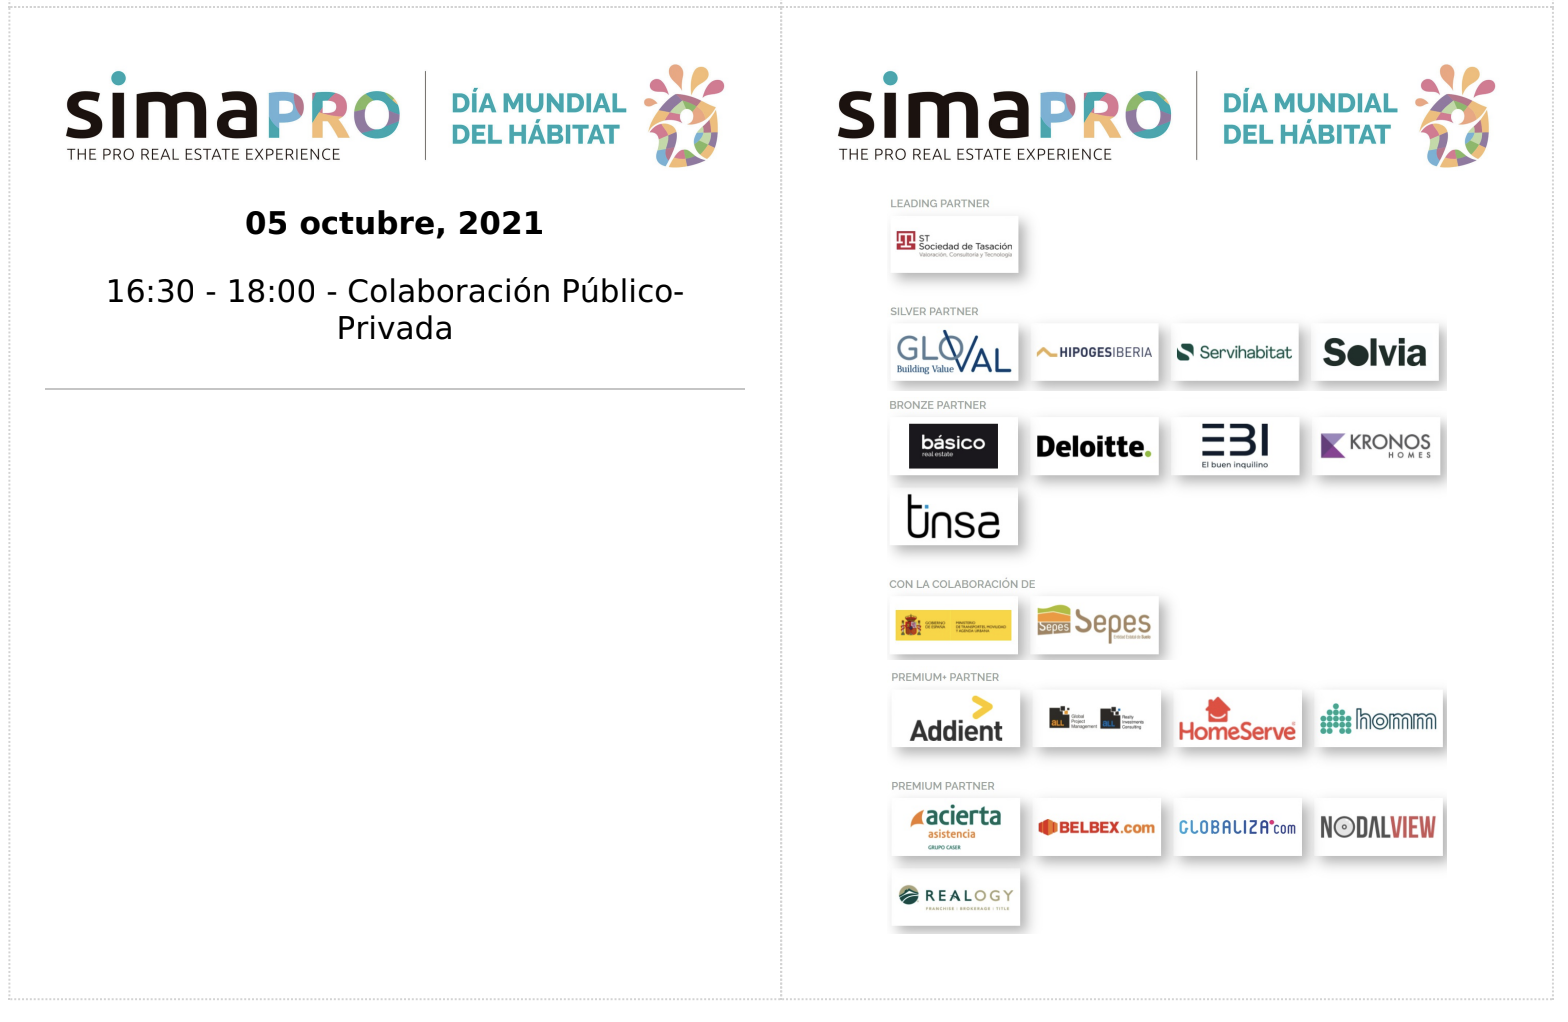
Here you have some examples of how your badges may look like:
Note: It is very important to configure these parameters before adding an attendee or enabling registration on the event webpage. To personalize your badge, please send us (to help@eventtia.com) a JPG or PNG file with the dimensions 1905 x 2694 so that our technical team can integrate it.