Important: Before proceeding with the following steps, please submit a ticket to our team to obtain the API key validation and the API password for your event.
Step 1.
- Open the Zapier page https://zapier.com/
- Log in with your account or create a new one following the next image:
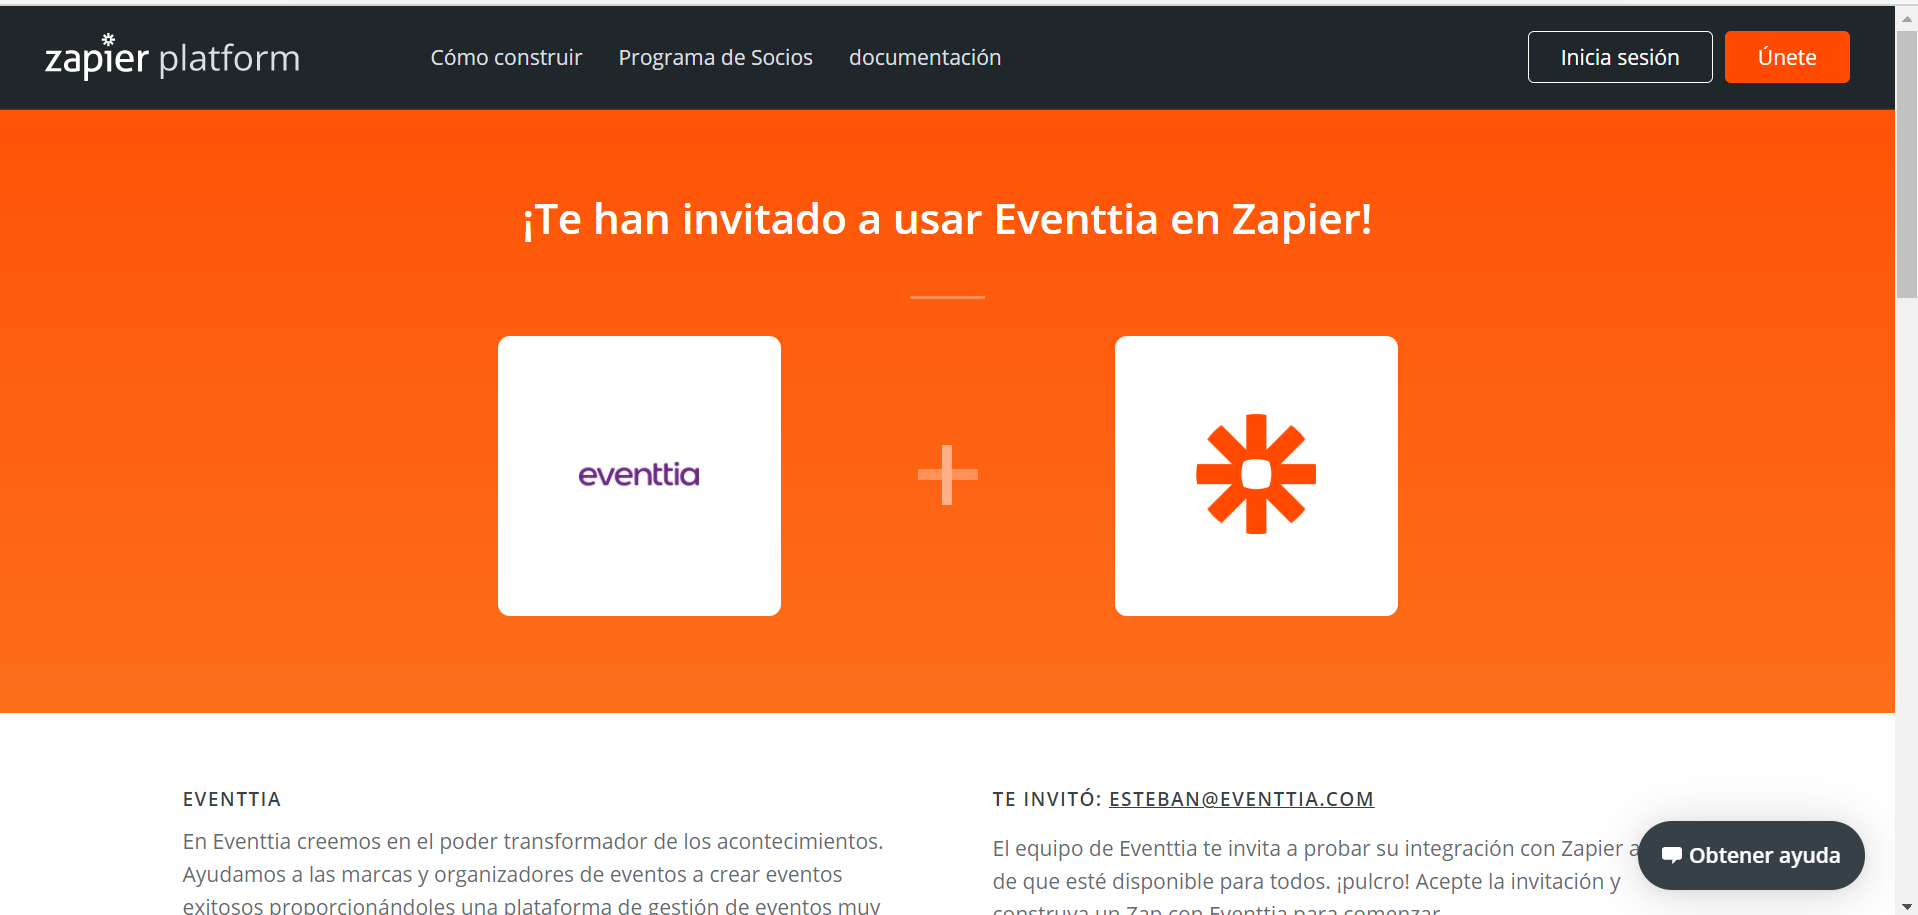
 Once log in open the following link to connect Eventtia with another app:
https://zapier.com/app/login?next=/developer/public-invite/144533/6d3017d5c07c9a768429ceccc5128da9/
- In case you had not been log in the following image will appear:
- You will be available to see the request like this after you log in:

- Click on "Create", then select "New Zap."
- Next, click on "Trigger."

Step 2.
- Search for "Eventtia" and select "Eventtia (1.2.1)"

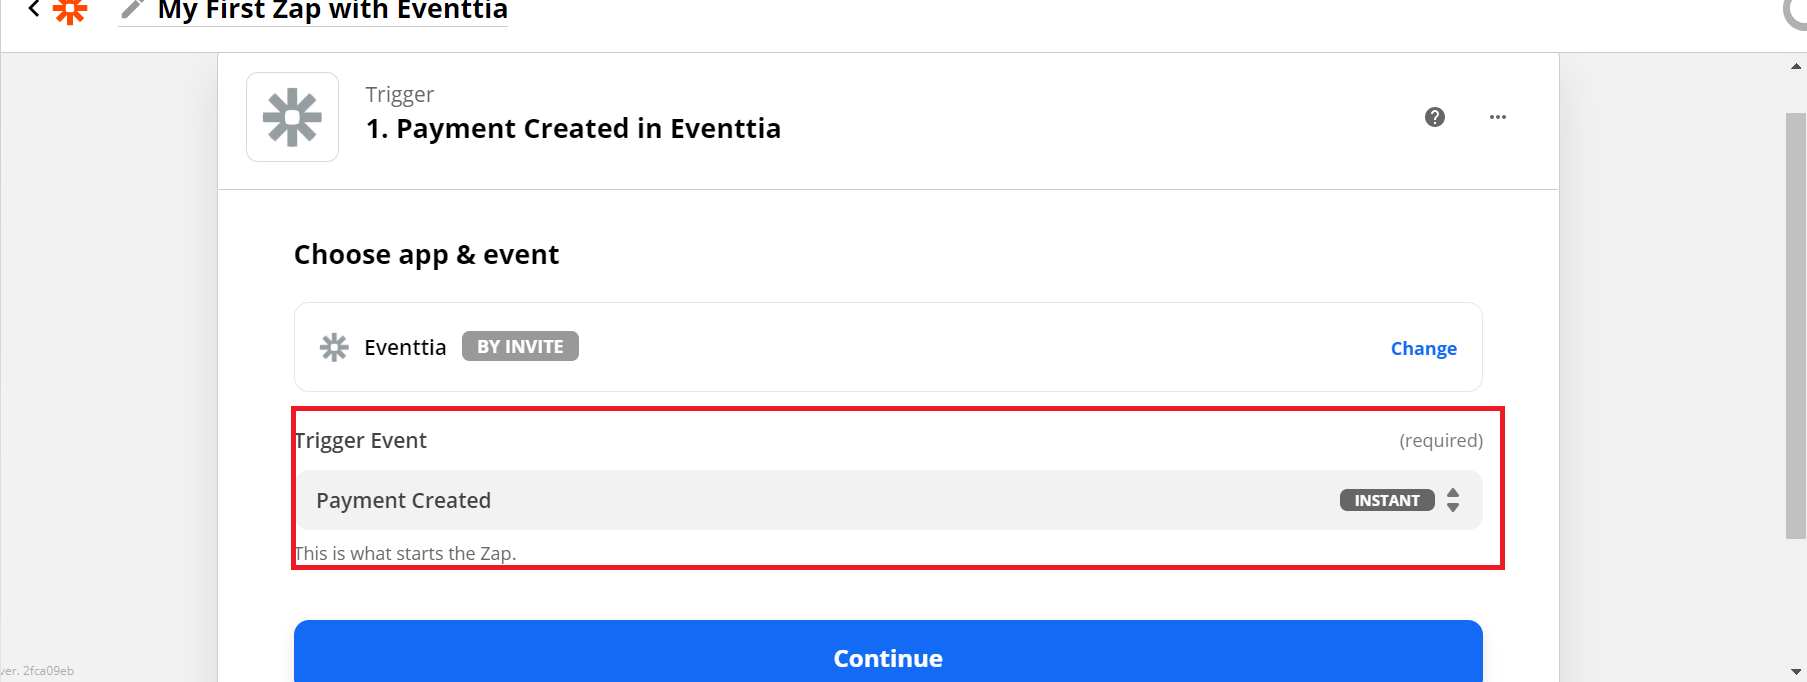
- Select "Trigger Event", and you will see several options, including "Attendee Created," "Attendee Updated," "Payment Created," and "Event Invoice Created," among others. You must choose one of these options.
This selection will ensure you receive a notification whenever a participant is created or makes a payment.

Step 3.
- Next, by clicking on Account, the following page will open, allowing us to log into the event we want to configure.

- Go to your Eventtia administrative account and locate the event for which you want to receive notifications when participants register, make a payment, or are removed.
- Once inside the event, scroll down to the bottom of the page and click on the "Settings" section. Then, navigate to the "Advanced Settings" tab.

- Scroll down to the bottom, where you will find the API Key and API Password for your event.

- Copy and paste them in the same order as shown in the following image.

Step 4.
- Once you have them, click "Yes, Continue." You must inform our team that you are waiting for validation. Once the validation is complete, it will appear as follows:

- Finally, click "Continue."
- Next, click "Test Trigger."
You will see information about your event appear on the screen.

- Once selected, click "Continue" and search for the app where you want to receive these notifications.

- Select the app you want to integrate, and once chosen, it will appear as follows.

- You need to choose the action you want to trigger when someone registers, makes a payment, or performs another activity. In this case, we selected sending an email every time a participant registers.
Step 5.
- Next, select the option that best suits your needs. Once chosen, scroll down and click "Sign in" on the selected app.
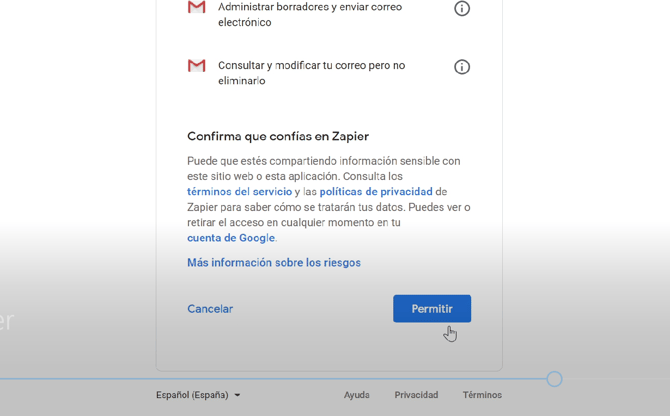
- Finally, log in to the app and grant the necessary permissions.
- Once permissions are granted, you will see your user account displayed, showing the account you used to log in to the app.

- Select "Continue," and you will be prompted to fill in the required information.

- To: Enter the email address where you want to send the trigger.
- From: You can use the same email as in the "To" field or a different one.
- Subject: Enter the subject line that will notify you whenever a participant registers, makes a payment, or performs another action.
- Body Type: Select "Plain".
- Body: Write the content of the email that will be sent each time one of the mentioned actions occurs.
- Signature: Choose the email that appears when you scroll.
- Label/Mailbox: Select "INBOX".
Once you have completed the information, the "Continue" option will appear.

- Click on "Test" to verify that everything is properly configured.

- Once everything is working correctly, click on "Publish".
Note: Remember that this process allows you to create any integration. Just make sure to consider the app you want to integrate with Eventtia.
Important: You should follow this same process each time you want to integrate a new platform with Eventtia.