
In this article we will show you how you can set up our Event's Widget inside your own website created outside Eventtia
Step 1:
For you to be able to integrate your event's widget on your website you should insert a tag script at the end of the page.
Script example: 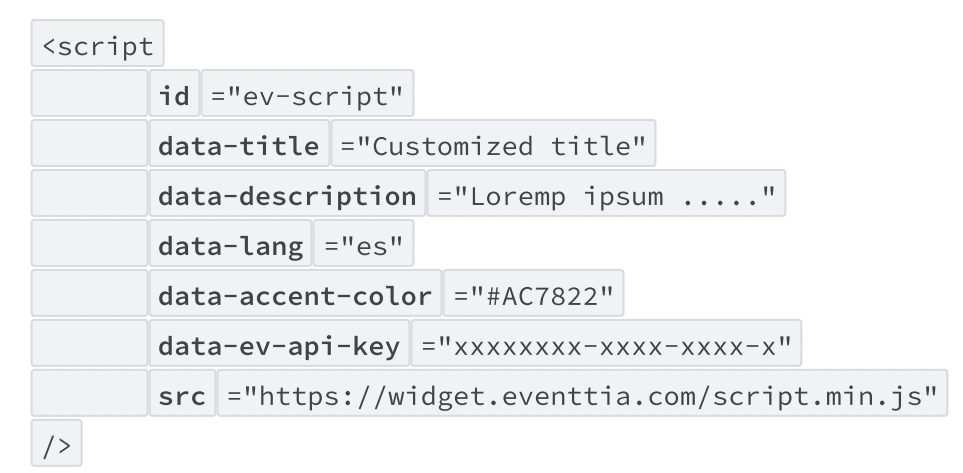
Notes: The ID attribute is required and must have the value: "ev-script". To be able to show the widget properly on mobile version it is mandatory to add the METATAG in the principal element's page

Step 2 :
The script needs that the following html tags are stablished on the website for the widget to be rendered:

Estos tamaños de etiquetas limitarán el tamaño y la forma del widget, las etiquetas permiten al cliente actualizar según tus necesidades.
Step 3 :
Attributes to personalize the widget
- (Mandatory) data-ev-api-key: API Key that will be used for the events
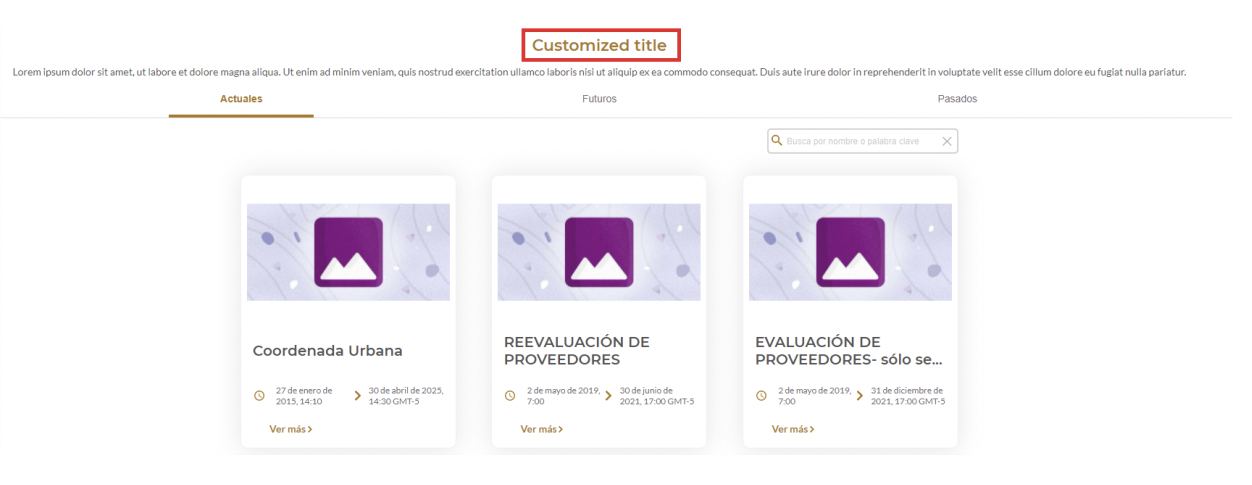
- (Mandatory) data-title: Customized title
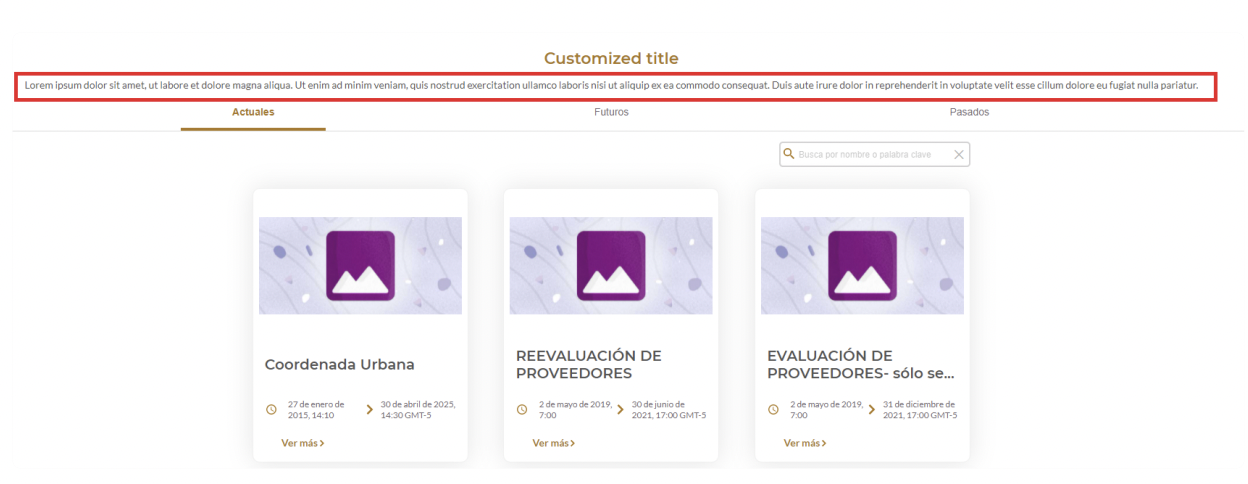
- data-description: Widget description
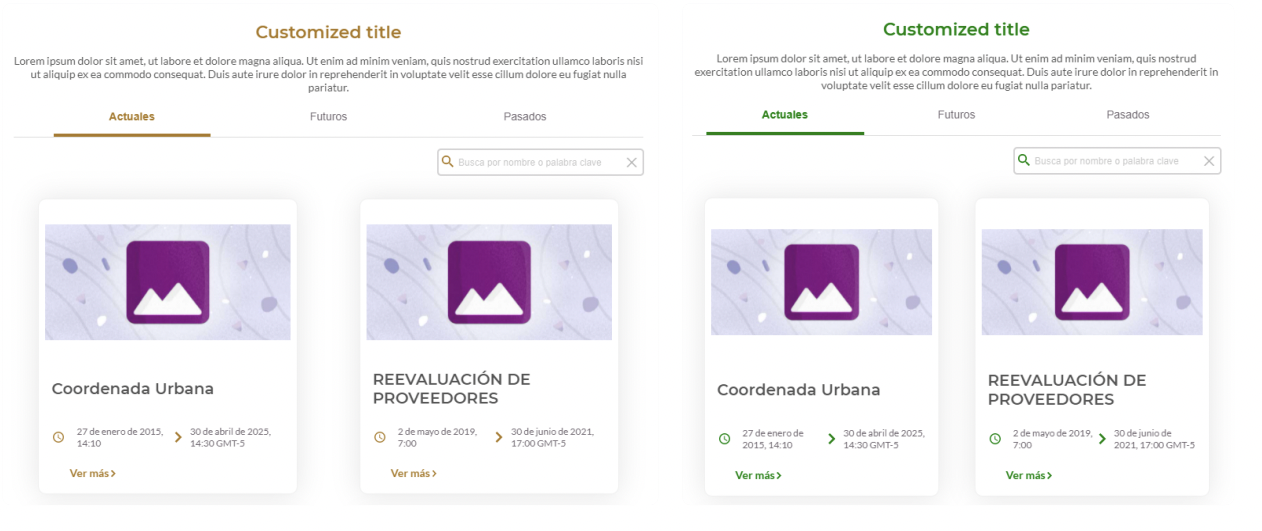
- data-accent-color: color that will be used
- data-lang: At the moment it supports en, es, and fr for English, Spanish, and French.
Step 4 :
Attributes which should not be modified:
These attributes must remain as they are for the widget to work correctly
- scr: Widget font
- id: The ID attribute is required and must have the value "ev-script". This attribute will link the font code with the div elements related.
Now you know how to set up the Event Widget :)
Please keep in mind that for the Website created in Eventtia the attributes to customize the widget are added differently, please consult the following article for more information: