Participants and the organizers can both check the Newtorking agenda. Find below how to check and manage the participants' agenda.
Section 1: On the participants' end
The participants can access their own Networking agenda through the Virtual stage (the event mobile web app).
Read this article to see how to download the Mobile App for your in-person event.
Below are the steps to follow to check the agenda.
Step 1: Check the participant's agenda
- Access the Virtual stage using the Virtual stage link, or the Virtual stage icon on your mobile phone/tablet.
- Once logged in, check on the left the modules and enter the Program module.
- There, you will see two tabs : Activities and Meetings.
- Move to the tab Meetings to check for your Networking agenda, as a participant.
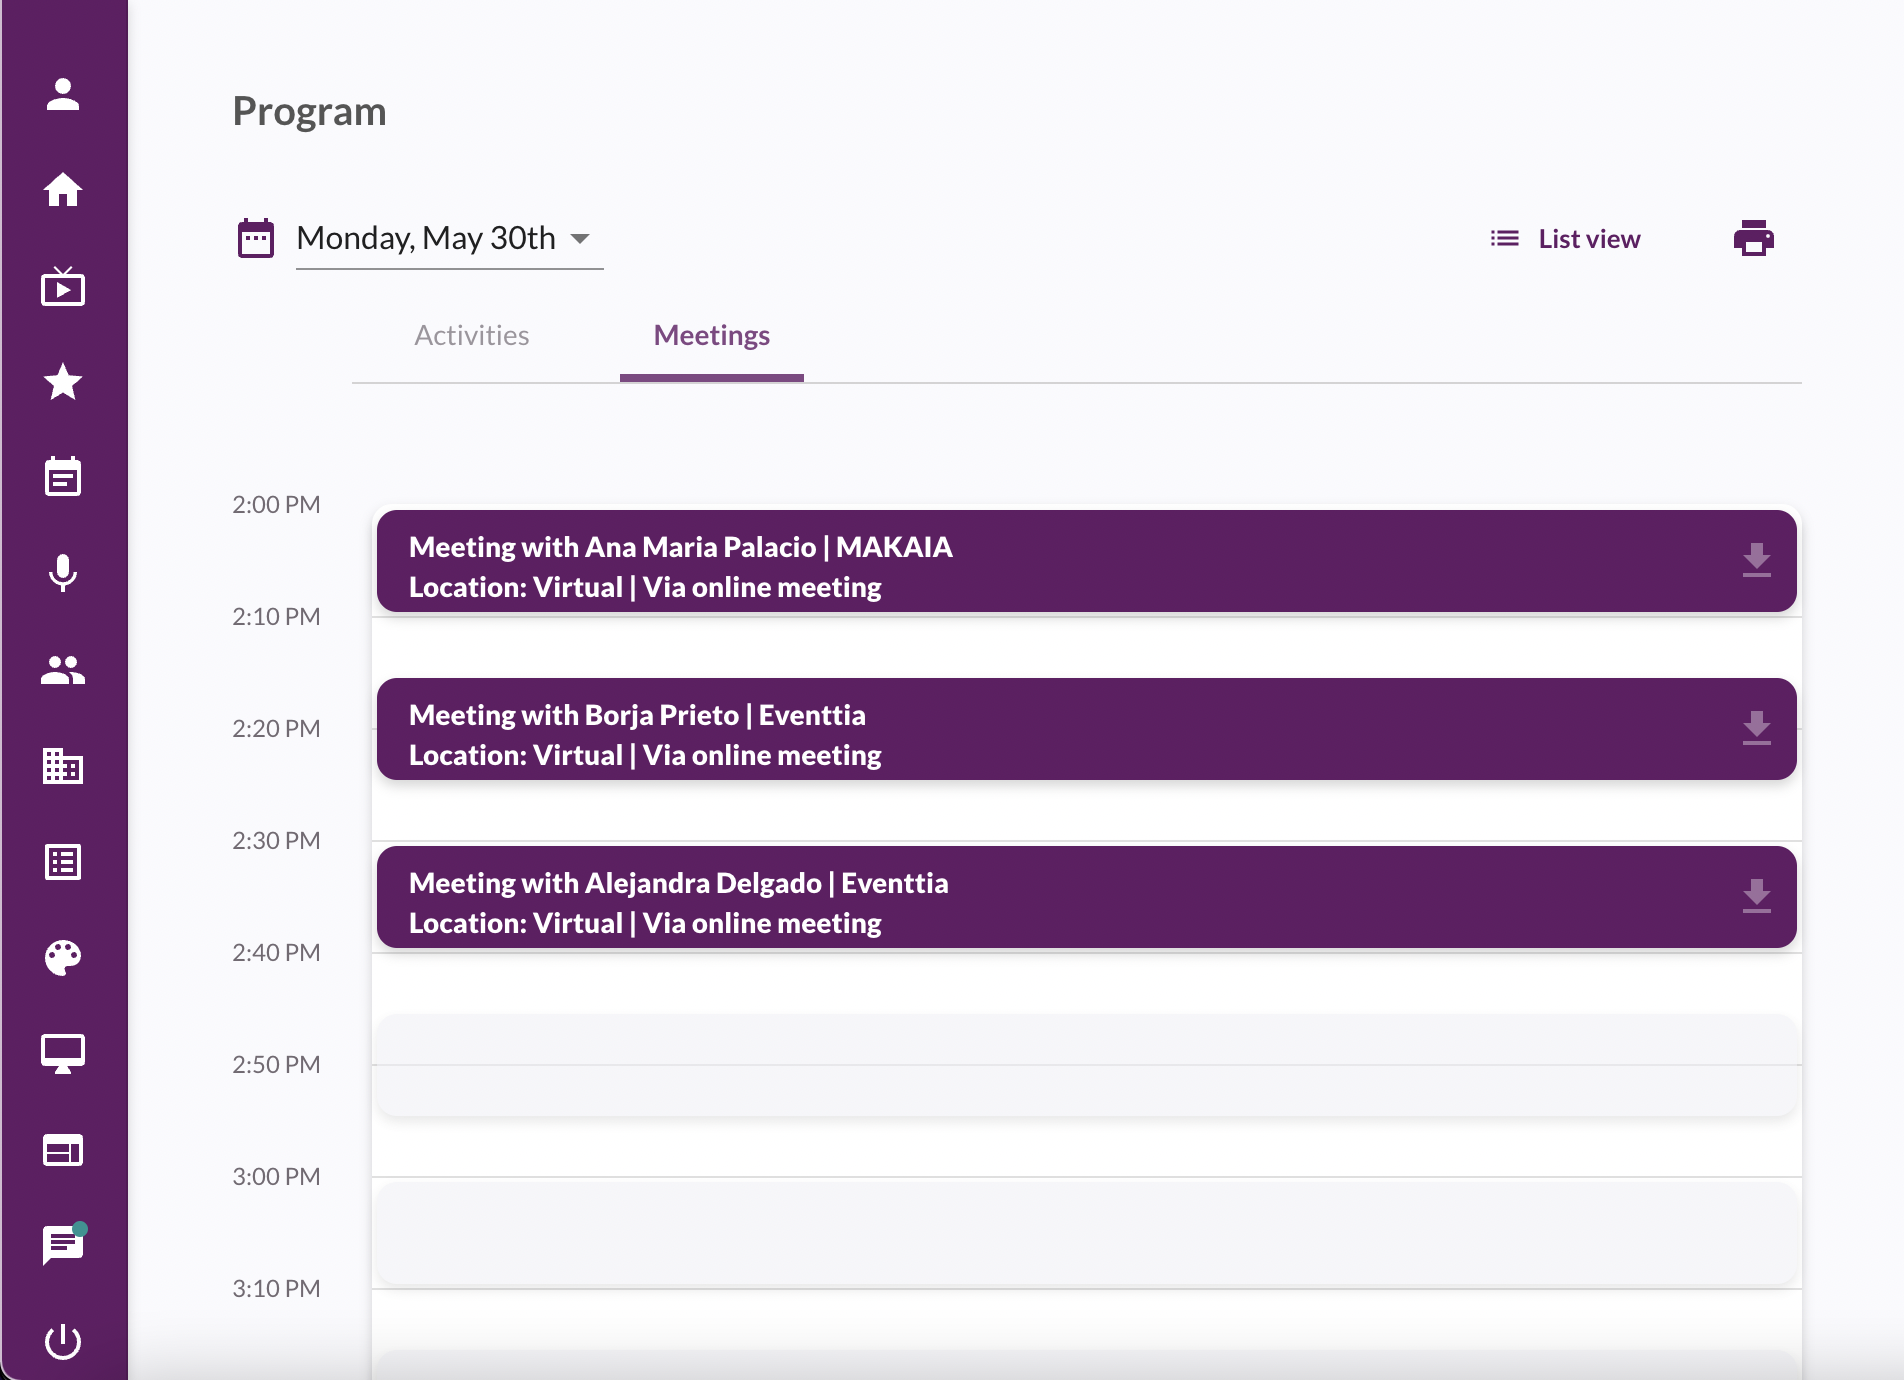
Step 2: Print the participant's agenda
To make it easier for the participants to save their agenda, they have the possibility to print it out. For that, follow the steps above and once in the Meetings tab, follow the steps below:
- Click on the Printer icon on the top right, next to the view option.
- A page will show all the meetings of the participant in a new page and the participant will be able to save it in a PDF file.

Section 2: On the organizers' end
The event organizer can also check participants' agendas individually in Eventtia Backoffice.
Below are the steps:
- Go to the Networking module and access the Networking session
- Then, within the Networking session, move to the Participants tab.
- Then, click on a participant's card.

- There you can see their entire agenda.

- It is possible for you to confirm or reject meetings on behalf of the participant and also to send and confirm meeting request for them.
- It is also possible to send your participants their agendas by email through the Communications module, by including in your mass email a custom button with the 'Print Agenda' tag so they can print it. Refer to this article to learn how to use the mass email feature.
- The event organizer can also print off a list of the full agendas of every participant. To do so, click on the green Actions button in the top-right corner, then on Print Agendas.

- Choose which information you want, then click Continue.

- A PDF will automatically be generated, showing the full agendas of each participant, which you can then print.