Thanks to the module "Checkpoints" you have the ability to track the attendees' comings and goings on the event and thus to be able to confirm their presence in each area or confirm an action such as document retrieval for example.
To create a checkpoint, follow these straightforward steps:
Step 1.
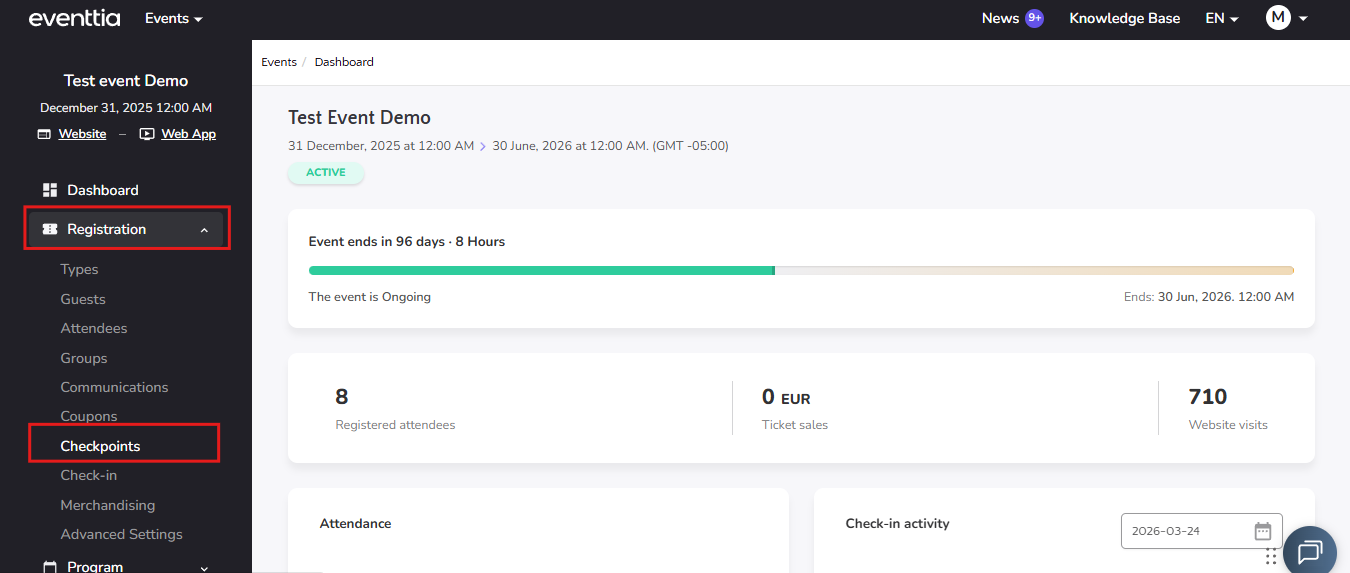
- Go to the "Registration" module and click on "Checkpoints".
- Then click on the green "+ Create checkpoint" to create a new checkpoint.

- Name and describe the point. At the same time, define whether this is a "Unique" or "Multiple" checkpoint.
- "Unique" Checkpoints can only be activated once regardless of their nature (e.g. Each attendee can only receive the event's documentation once).
- Checkpoints of the "Multiple" type are available to attendees indefinitely (e.g. Access to the exhibition hall)
- You can also set a capacity limit
- You add a description
- You can also decide which attendee types can access a particular checkpoint by checking the relevant box.

- Then click on the "Create" button
Step 2.
- There are 2 ways to register attendees' passage through your different checkpoints:
- Directly from the "Checkpoints" module of your account:
- Select the checkpoint of your choice clicking on the three little dots at the right-hand corner of the checkpoint's card.
- Directly from the "Checkpoints" module of your account:

- Then click on the tab "Attendees".
- Fill in the email address with which the attendees registered and click on "Register Entrance" button.


- If the attendee is registered for your event with the address entered, a message written in green will appear indicating that the attendee has been registered on this checkpoint.
- From the Eventtia On Site app:
- You can access the check-in app from your mobile devices. The app is available to download from the App Store or Play Store depending on your device

- Open the app and log in with your Eventtia credentials

- Access the list of your created events and click on the one you are currently working on. Alternatively, you can quickly locate your event by clicking on the search button and entering its name in the search bar.

-
- To access the Checkpoints tab, you need to click on the tab located at the bottom of the screen labeled ‘Checkpoints’.


- When you click on the corresponding checkpoint you will be able to see the list of all attendees who already accessed this check point, you can check in or check out your attendees clicking the camera button.
Important note: The attendees's list on the checkpoints will be empty until you start scanning the attendee's QR code

- Click on the camera button then select check-in or check-out


- Or From the checkpoint screen, you can check a attendee in or out by swiping left or right.


Step 3.
- You can at any time export to an Excel file the data saved at a checkpoint. To do this, go to the Checkpoint module inside Eventtia, click on the corresponding Checkpoint and then simply click on the "Export list" button in the edit mode of any checkpoints.
