The steps to follow for creating or editing your program are as follows:
Step 1.
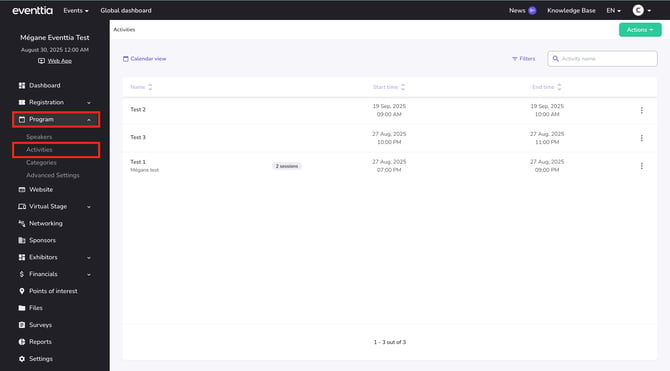
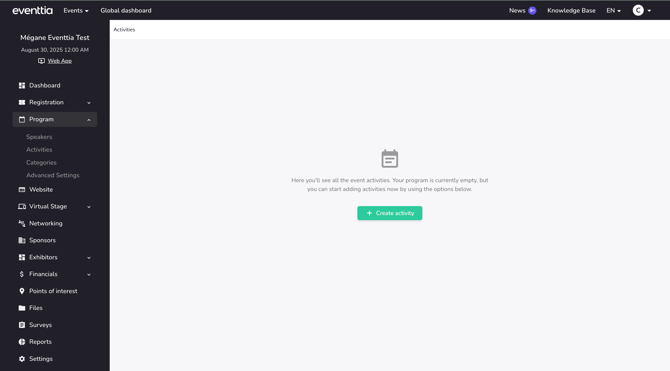
- Go to the "Program" module and click on the "Activities" section.
Step 2.
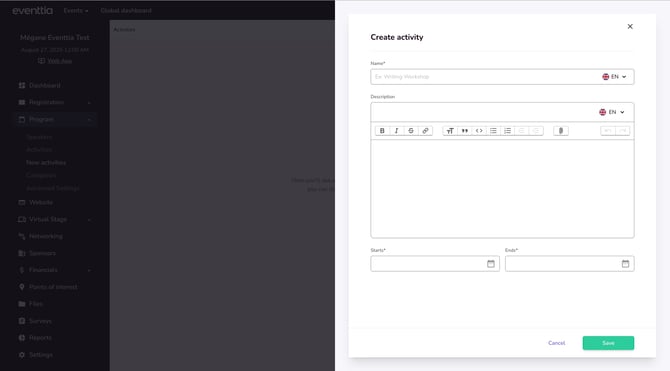
- If you do not have a registered activity yet, click on the green "Create Activity" button to access the activity creation menu.
- Once in the menu, you will be able to fill in the required information about your activity:
- Name.
- Description (not mandatory)
- Start and end dates.
Step 3.
After saving your activity, you will see three tabs appear: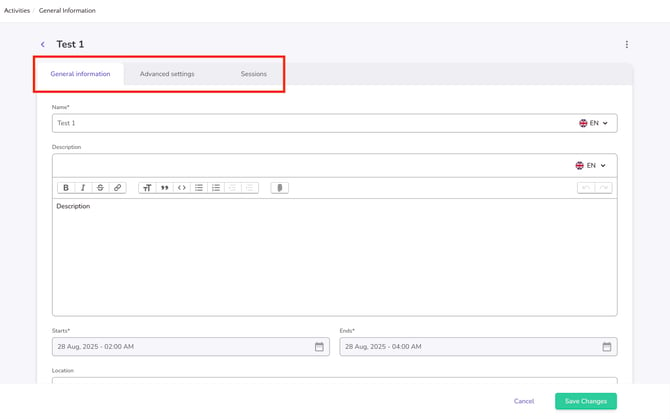
- General Information
- This is where you can edit or complete basic information about the activity, add or update the location, or Assign a speaker to the activity.
-
It is also possible to display both the activity name and the activity description in multiple languages. To achieve this, you simply need to fill in each field with the corresponding translation.

-
This ensures that users can access the content in the language of their choice, offering flexibility for multilingual audiences.
Make sure all general details are up to date and saved before moving on.
- Advanced Settings
Here’s where you configure more detailed options for your activity:
-
-
Go to the Advanced Settings tab.
-
Check the box “Allow registration for this activity.”
-
Choose which attendee types can register.
-
Define different prices for each attendee type (if applicable).
-
Note: If you apply prices to activities and VAT is included in your event, please ensure that VAT is also included in the price of each activity. The displayed prices should also clearly reflect the applicable VAT amount.
-
-
Select a registration end date.
-
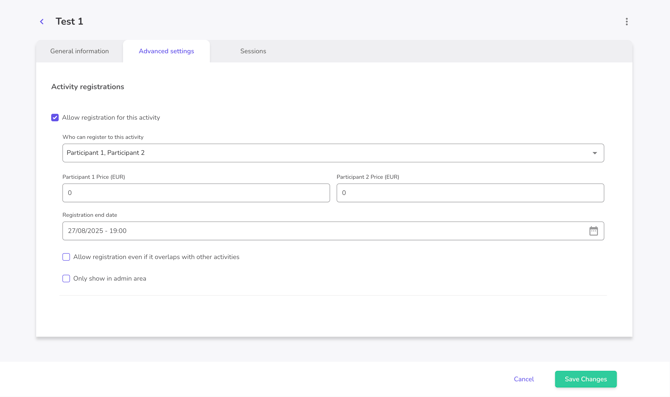
Once this is done, participants will be able to select the activity during their event registration.
Note: If two activities have overlapping time slots, participants might not be able to register for both, schedule conflicts will apply.
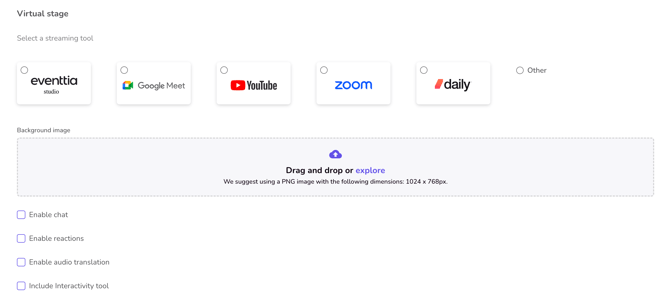
If your event is virtual or hybrid:
-
Choose a streaming tool
-
Upload a background image
- Select relevant streaming options
- Enable the chat feature for each activity.
Step 4:
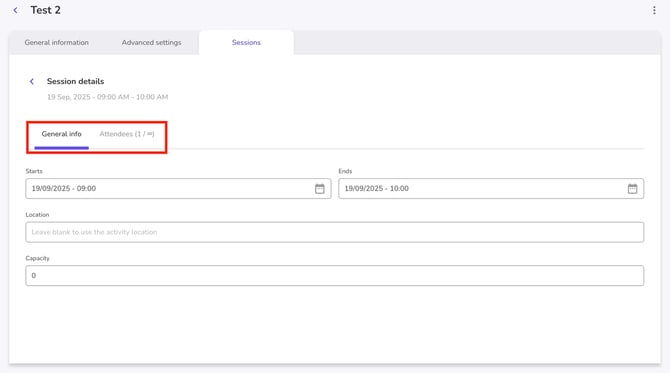
Sessions allow you to split an activity into multiple slots within the same activity. This is useful for recurring activities or those spanning multiple days.
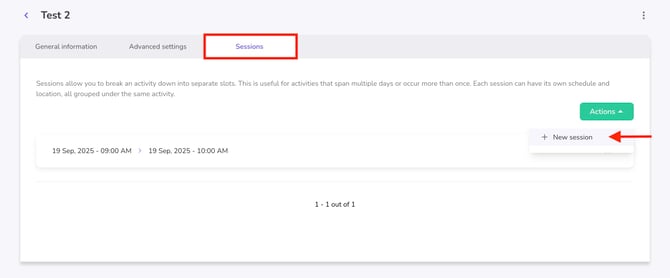
To create sessions:
-
Click on Actions > New session
-
Fill in the required details:
-
Start and End times
-
Location
-
Capacity
-
Note: By default, capacity is set to 0, which means it is unlimited. You can leave it as is, or if your activity has a limit, replace 0 with the required number.
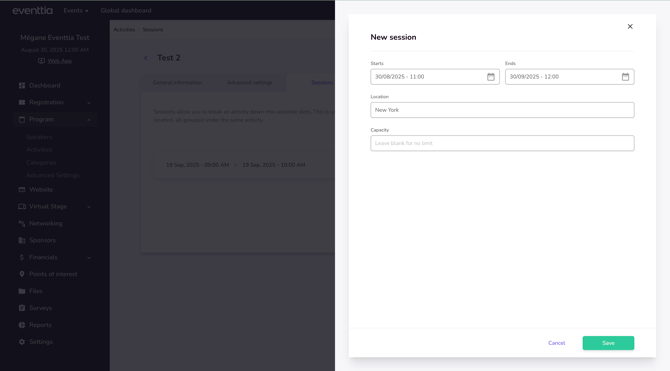
- Save
You can repeat this step as many times as needed to add additional sessions under the same activity.
- You can return to these sessions at any time to make changes and to view the number of attendees who have registered for each session.
Filters
You can filter your activities:
- By name,
- By Date range, or speaker.
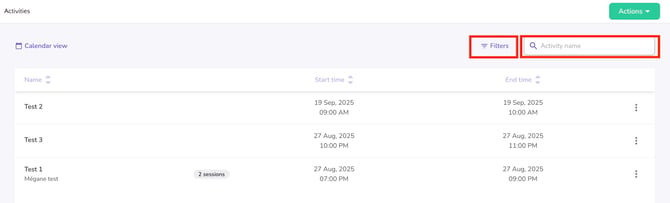
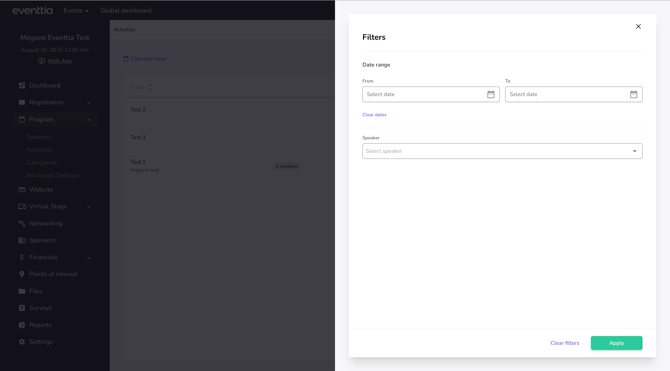
These filtering options help you navigate your event, especially when managing a large number of sessions and activities.
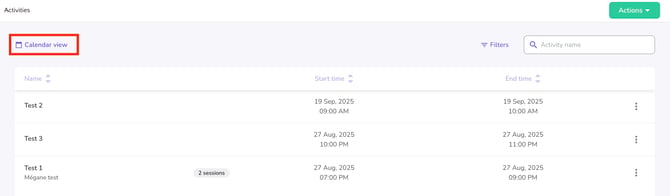
Activity calendar
The activity calendar offers several display options to help you navigate your event schedule:
-
Switch between List View and Calendar View to suit your preferences.
-
In Calendar View, choose how you want to visualize your agenda:
-
Month view for a broad overview of all upcoming sessions and activities.
-
Week view to focus on what’s happening during a specific week.
-
Day view for a detailed, hour-by-hour look at your schedule.
-
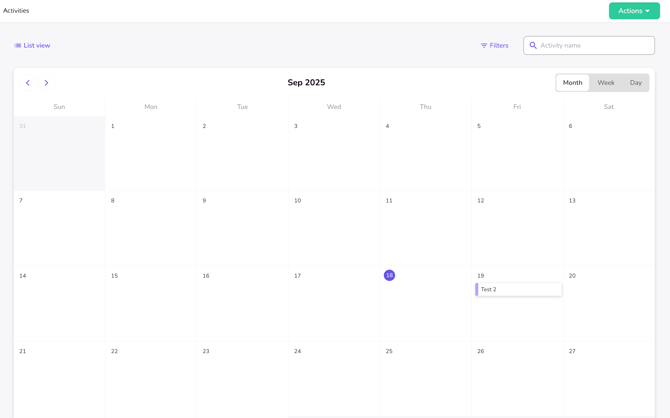
These views are useful for managing events with a large number of sessions.
Duplicate the activity
-
You can manage an activity by clicking on the three dots at the top right of its card. From there, you can either duplicate the activity or delete it.
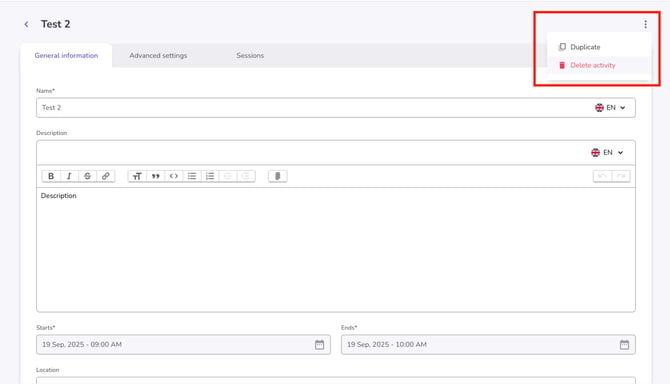
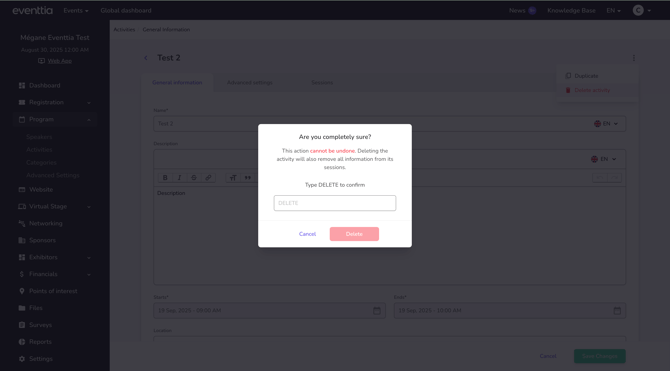
-
If you choose to delete the activity, a confirmation pop-up will appear. Its purpose is to ensure you are aware that this action is permanent, and that removing the activity will also erase all information linked to its session.
-
To proceed, you will be asked to manually confirm and type DELETE before it is applied.
You now know how to set up activities using the Program module.