For this reason, Eventtia allows you to connect your website to Google Analytics 4, which can show you how many visits each specific tab of your website receives, how long visitors spend on the page and much more.
The steps are:
- Sign in with your Google Analytics account at the following link: https://analytics.google.com
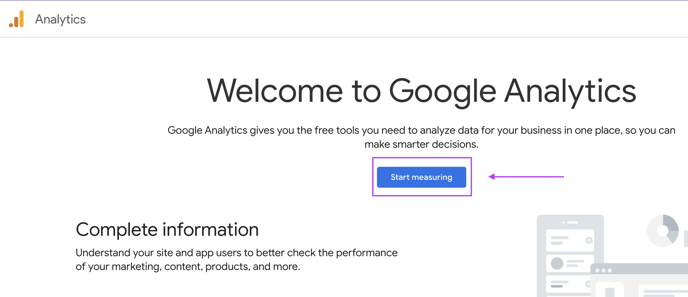
- Start the Google Analytics configuration by clicking on the "Start measuring" option.
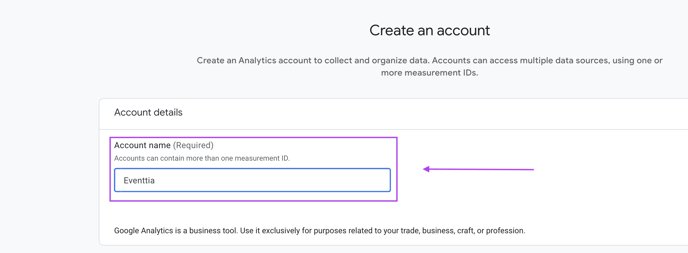
- Complete the details in the account settings with an account name that you will use as your profile. For example, your company name.
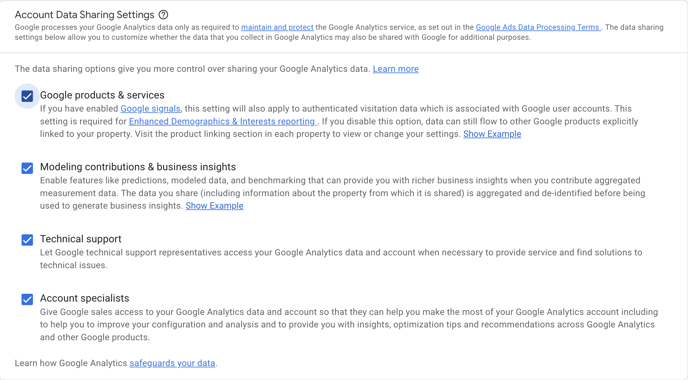
- Verify the following information.
- Under Property Settings, create a property to measure your data. In this example, we will set up a website property. You can change your time zone according to the customer's location and once you have finished configuring the property, click Next.
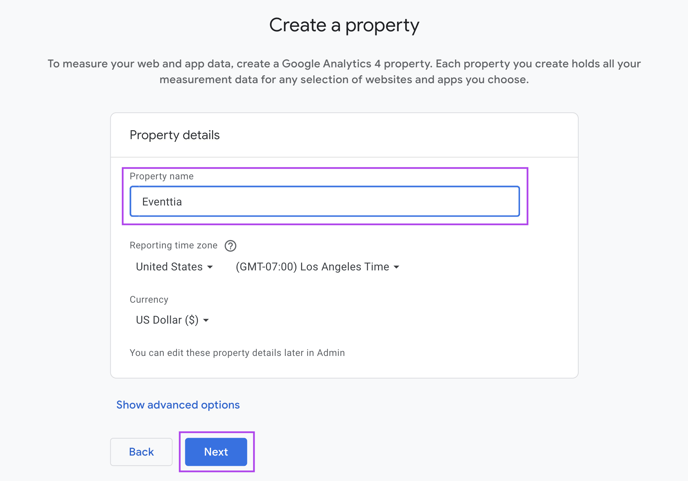
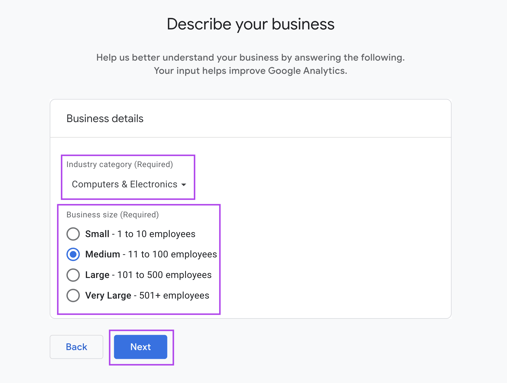
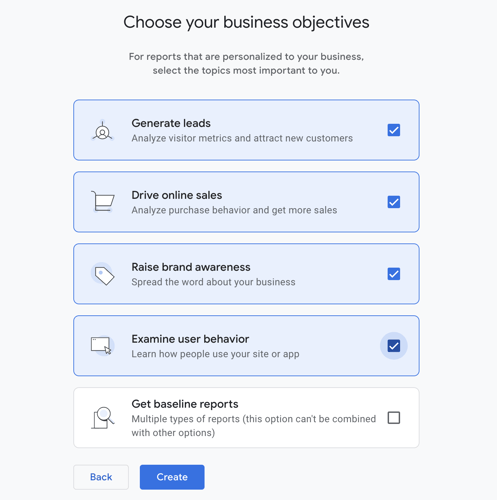
Note: use a name that is easy to remember as you can use multiple properties to measure the data. You can always go back to edit the property details and change any information and additionally you can create new properties in case of metrics from other sites than Eventtia by navigating to the Admin tab -> Property column in your Google Analytics interface. - Finally, provide more information about your business by selecting your industry category, size and how it will use Google Analytics 4 for your needs and then click "Create" to finalize your Google Analytics account setup.
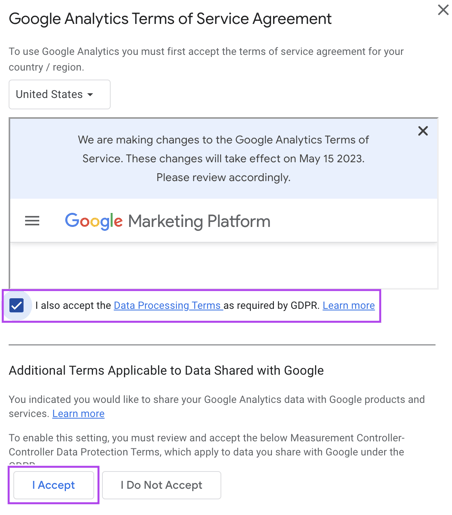
- Accept "Data processing terms".
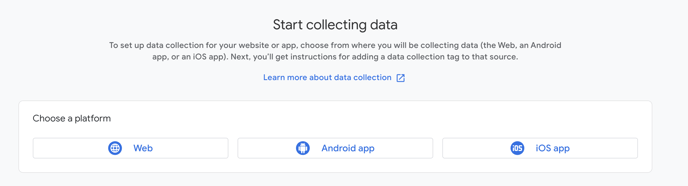
- Choose the data flow, in this case we select the "Web" option to enable data collection on the website and virtual stage.
- Enter your website URL and create a stream name. Then click on Create & continue.
To perform website and virtual stage measurement, we must always add "eventtia.com" and in Stream name use "Sitio web-Eventtia"
- You will see the following screen where you can access the Google Tag Manager, which can be used through the Eventtia website to measure its traffic. Don’t forget to click the "Test Installation" button.

- When closing the last screen, you will find your measurement ID which you can access in Admin -> Property -> Data streams.
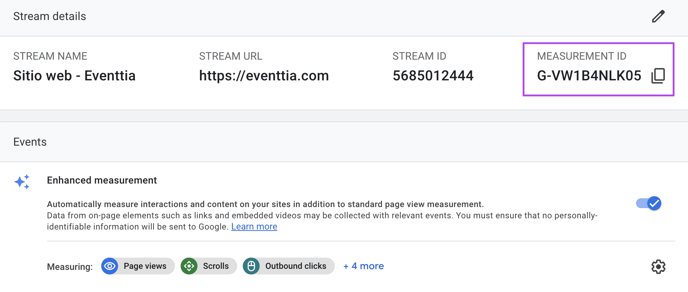
- After the configuration you will go to Eventtia and in the event Settings module click the "Advaenced settings tab" and you will add the "Measurement ID" in the field "Google analytics 4 tracking code".

- After creating the flow, you must click the Next button. Then, click on the "Continue to Home" button.


- Finally, enter in the module "Reports" option "Realtime" to visualize your website metrics.
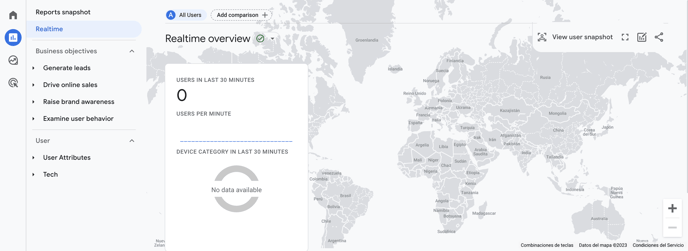
With this setup, the data on visits to your website or virtual stage will be more detailed, allowing for better analysis of the impact of these two modules on your audience and event targets.