How to use the registration block
One of the reasons to have an event website is that it gives you the ability to register attendees and enable online payments. Eventtia provides you with both, so you can manage your website content as well as control the registration and payment.
To implement the online registration, you have to set it up first on "Attendees > Types”, so that the registration module on the website editor can pull the information regarding the types of participants, prices, and available tickets. Once you do that, you can go ahead and add that module to your website. Refer to this article for guidance on how to set a price for your event.
Here’s how:
1. Insert the Registration Form
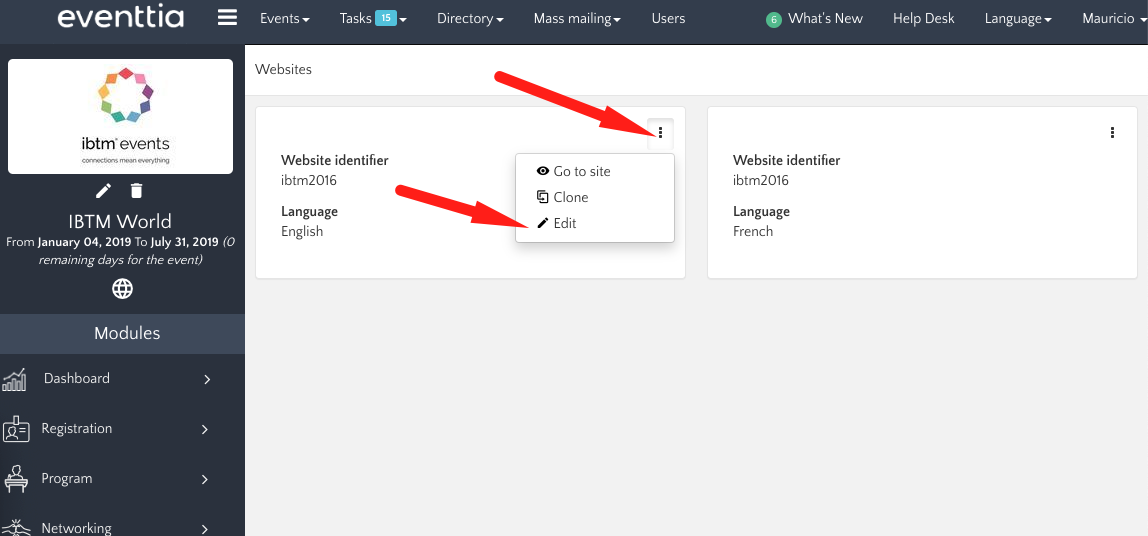
- Go to the "Website" module and click on the three little dots of the version you wish to edit. You will have different versions when your website is in different languages.
- Once in the Eventtia Composer, click on the "Registration" block.
- Drag the available template and drop it in a building block in your right.
2. Insert the Registration Types Block
- You can also create a new page and name it "Registration".
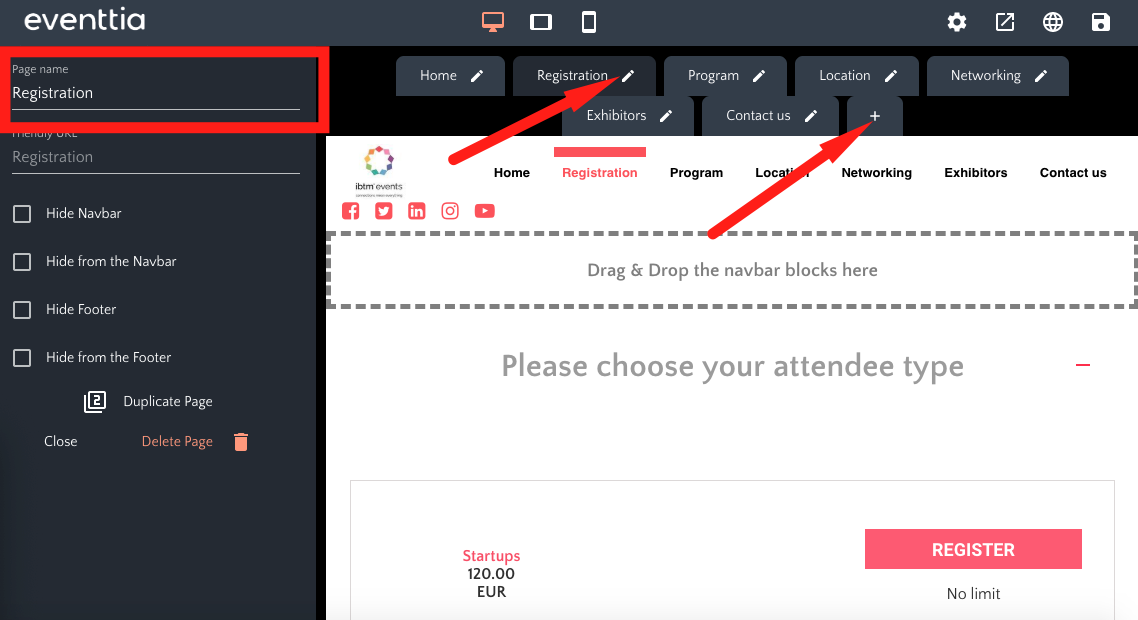
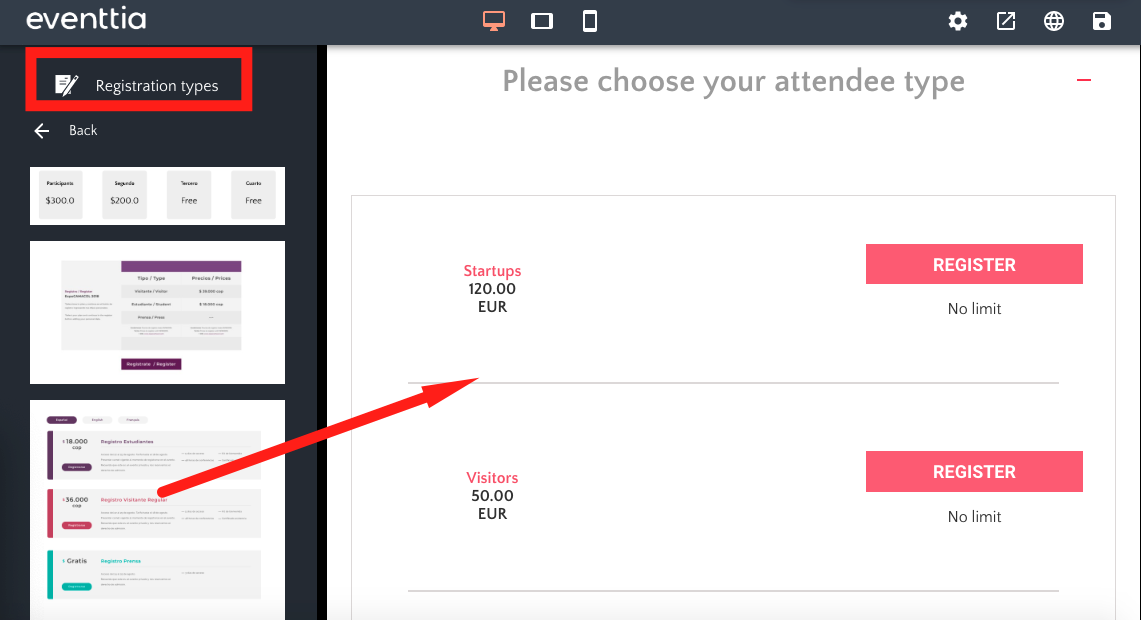
- Then close the configuration panel and click on the "Registration types" module. Drag the template you like most and drop it in a building block in your new page.
3. Insert a Header with the Registration Button
- In the "Header" block, templates offers a button to send your participants directly to your registration form. If you click on this button, you will see in the configuration panel that the first line, "Href" is filled with the link of your registration form.
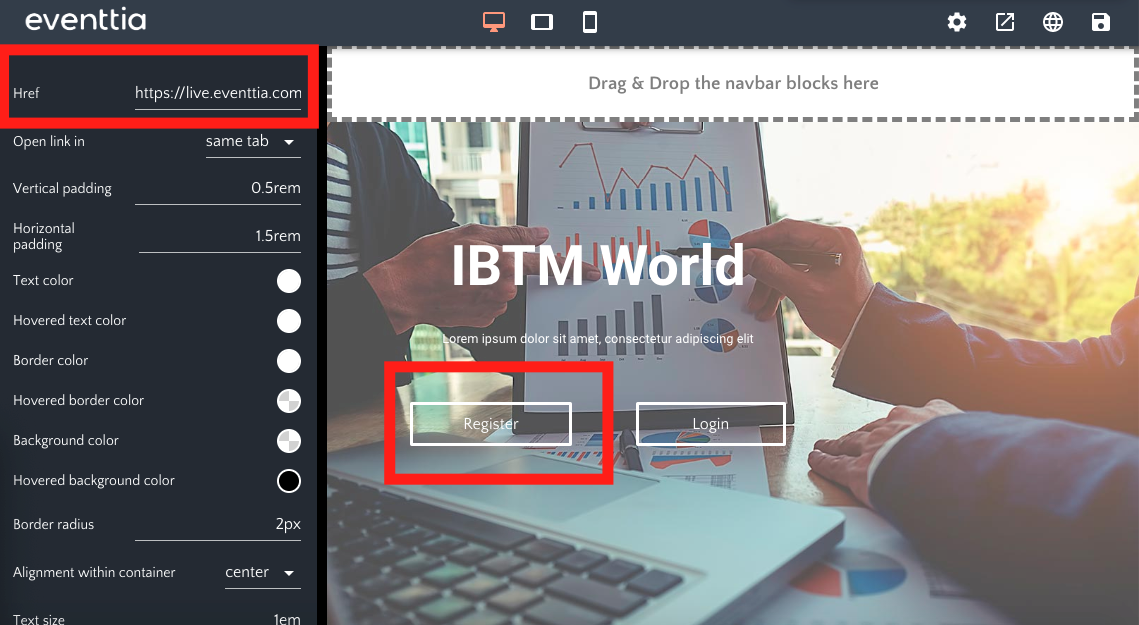
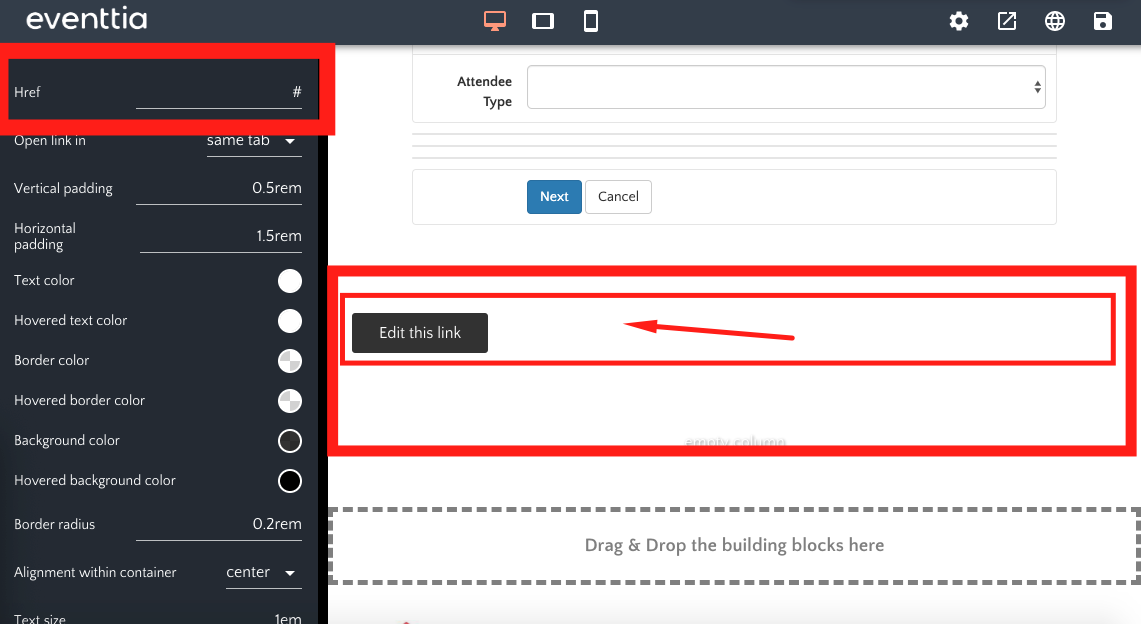
4. Add a Button Linking to the Registration Form
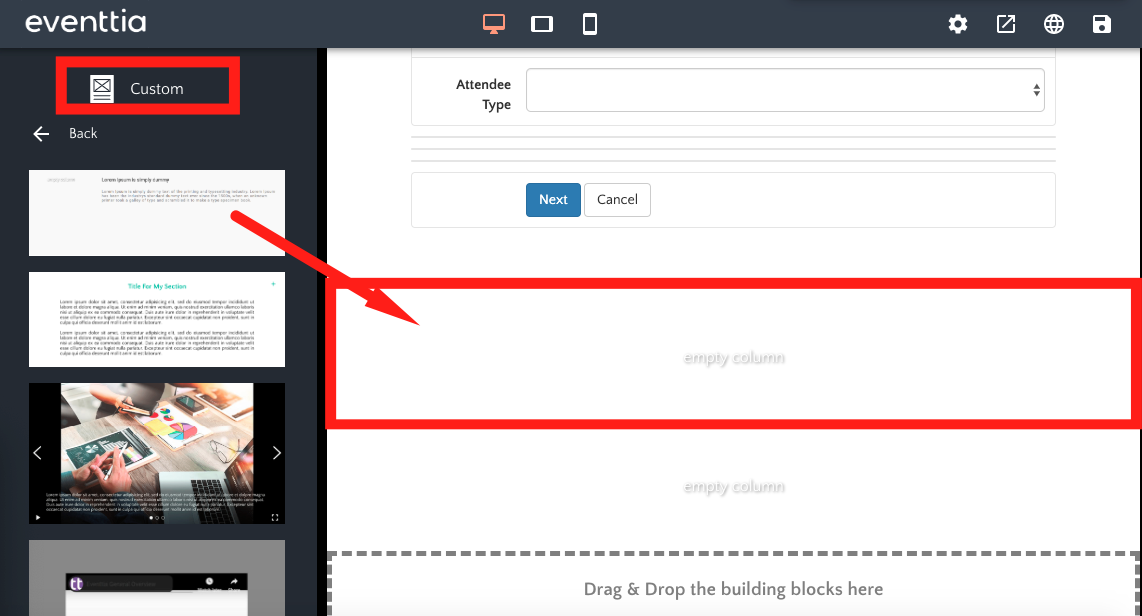
- If you do not want to use these templates, but just need the button, you can create an empty column and add a button inside. In order to do that, go to the "Custom" block. Drag and drop the first template. To learn more about it, please refer to this article.
- Click on the "Column". A configuration panel appears on your left. Click on "Add Content".
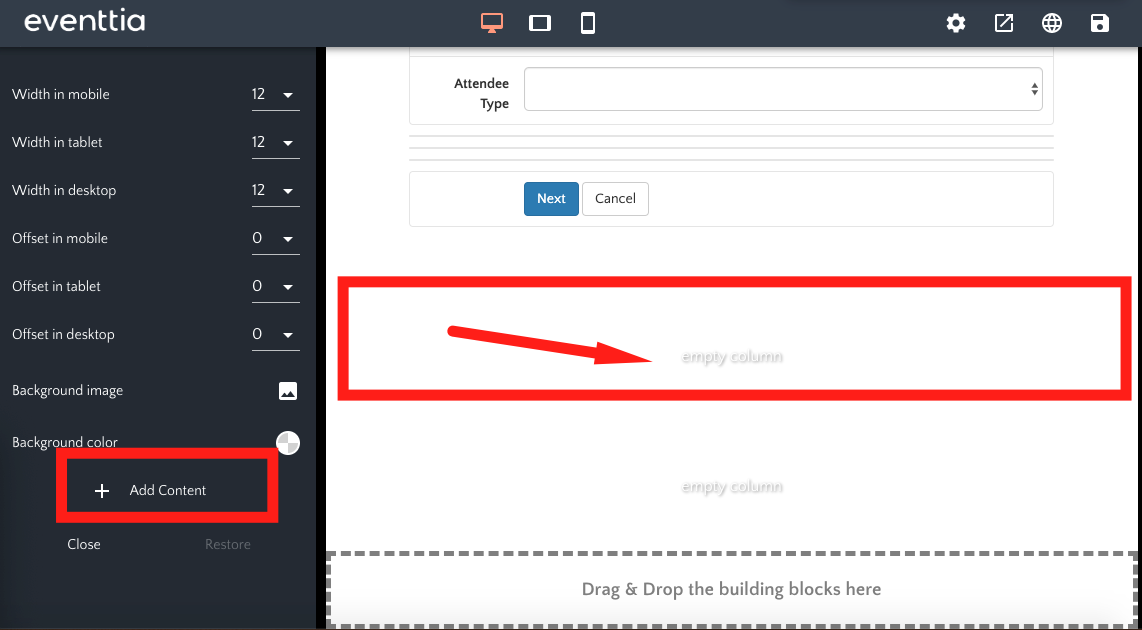
- Select "Button". It will appear inside the column. Click on it and paste the link to your registration block in the configuration panel.
