Here's how to set it up:
Step 1:
- Access to access the Virtual Stage module, and from there, click on Virtual Stage Settings in the left-hand menu
- From there, enable the Virtual Stage to activate it.

Step 2:
-
If you wish to do so, you can choose to enable the registration link on the Virtual Stage login page, so that any participant that hasn't yet registered to the event can do so from the link used to access the Virtual Stage.
-
Write a personalized Registration message and Call to Action text. Additionally, you can choose whether or not you'd like to include a language selector on your Virtual Stage.

Step 3:
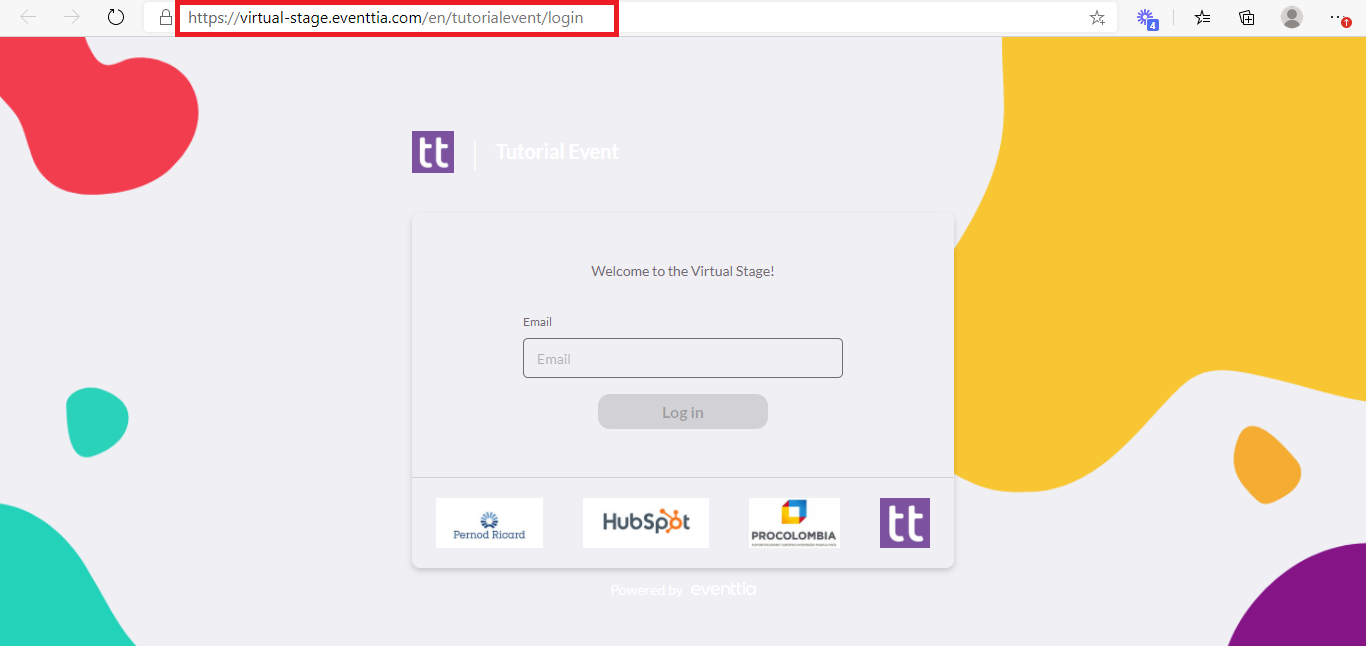
- In the User Interface tab, you can add a welcome message and select the background image, logo, and colors to be used on the Virtual Stage.

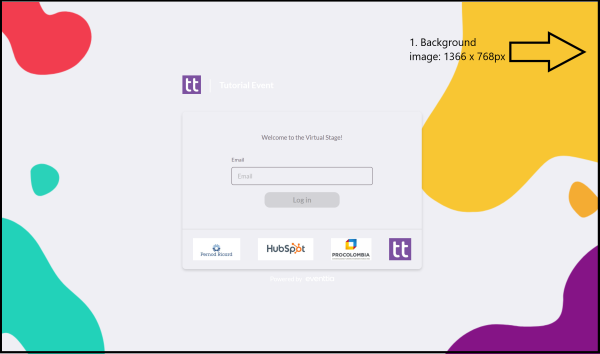
Here is a guide to the images with their recommended sizes:
- Background image: 1366 x 768 px
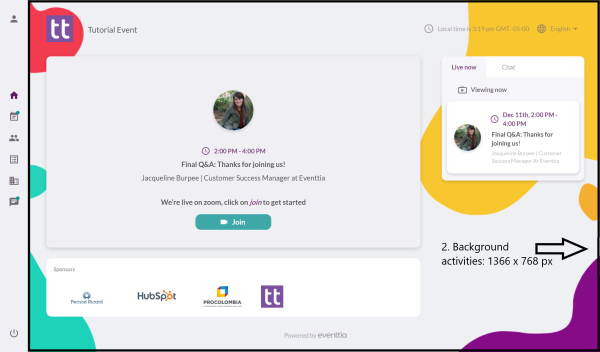
- Background activities: 1366 x 768 px
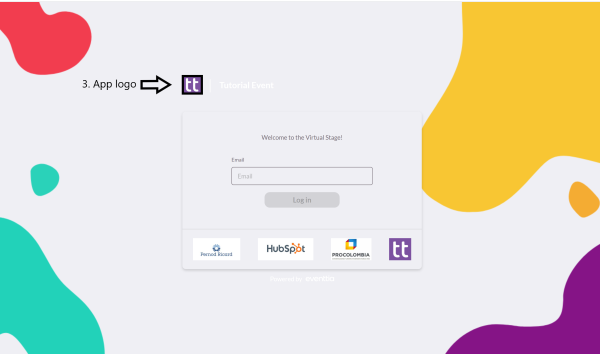
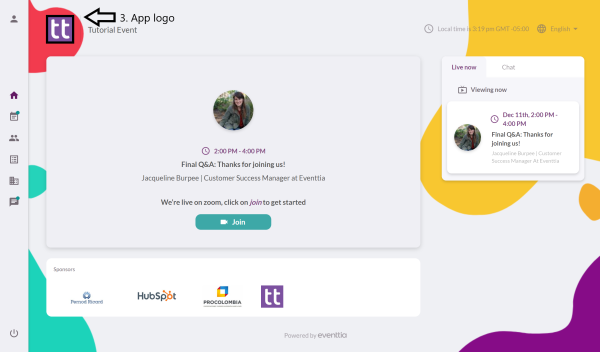
- App logo
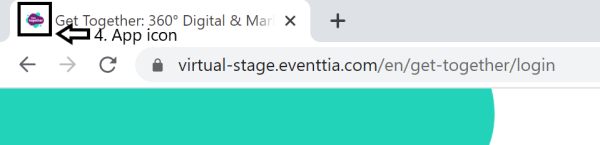
- App icon
- Background image for networking session: 1366 x 768 px

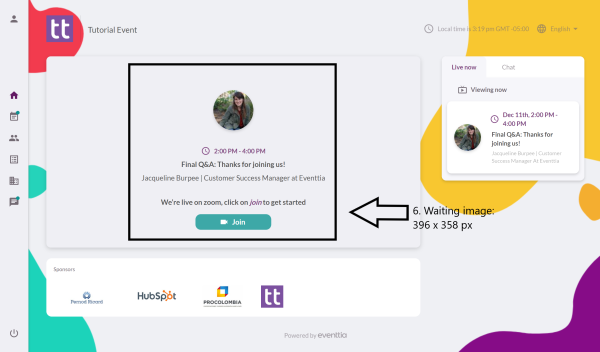
- Waiting image: 396 x 358 px
Step 4:
- Enable the modules you wish to use within the Virtual Stage.

Step 5:
- Preview what your Virtual Stage looks like and access the link to be able to share it with your participants once it's ready.