Steps for using Ingenico:
Step 1
- Data needed in Eventtia to function.
 a) PSPID (Configuration → Users)
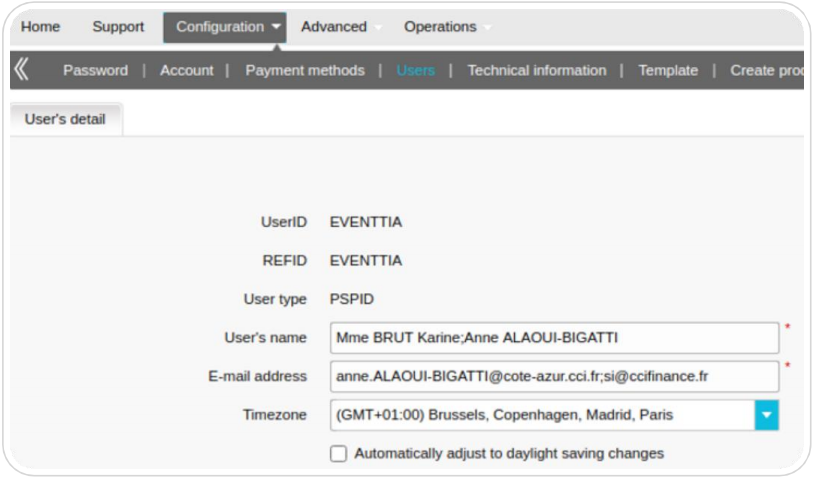 b) SHA-IN phrase (Configuration → Technical Information → Data and origin verification)This is the password that we will use to hash the data that we will send to Ingenico, so that attendees can make the payment. In this way Ingenico can ensure the integrity of the data and ensure that it was not altered in the process.
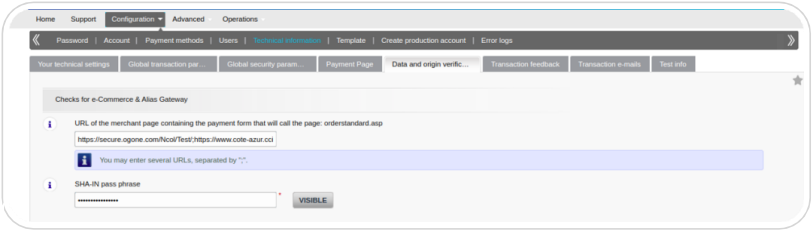 c) SHA-OUT Phrase (Configuration → Technical Information → Transaction feedback)This is the password we will use to validate the integrity of the data that Ingenico sends us after each payment on the platform. By doing this, we can guarantee that the data we receive is those that Ingenico sent us and were not altered during the process.
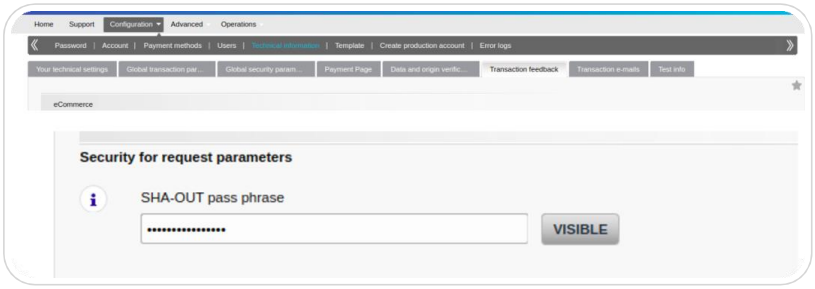
Step 2.
- Configuration required on the Ingenico account.
a) SHA-256. This allows Eventtia’s hashing method to be aligned with Ingenico's to ensure data integrity between servers.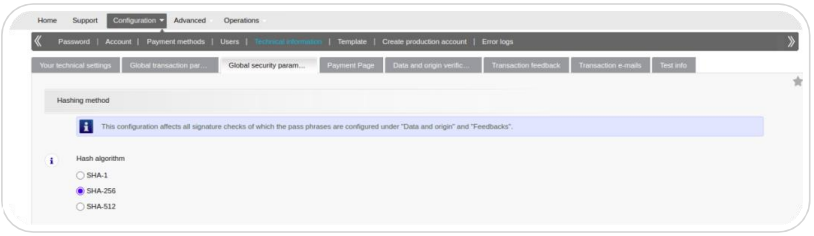 b) Include connect.eventtia.com and/or live.eventtia.com in the list of URLs. (depends on which page you will use for registration). This is going to allow us to open the payment gateway from our domains.
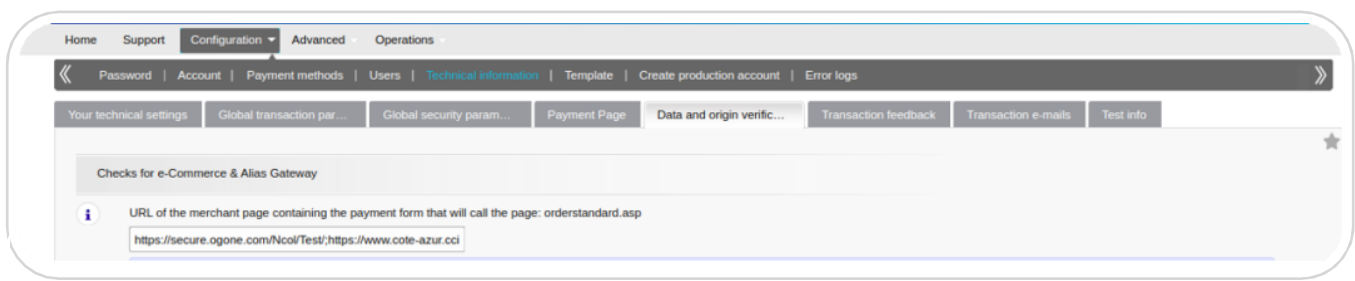
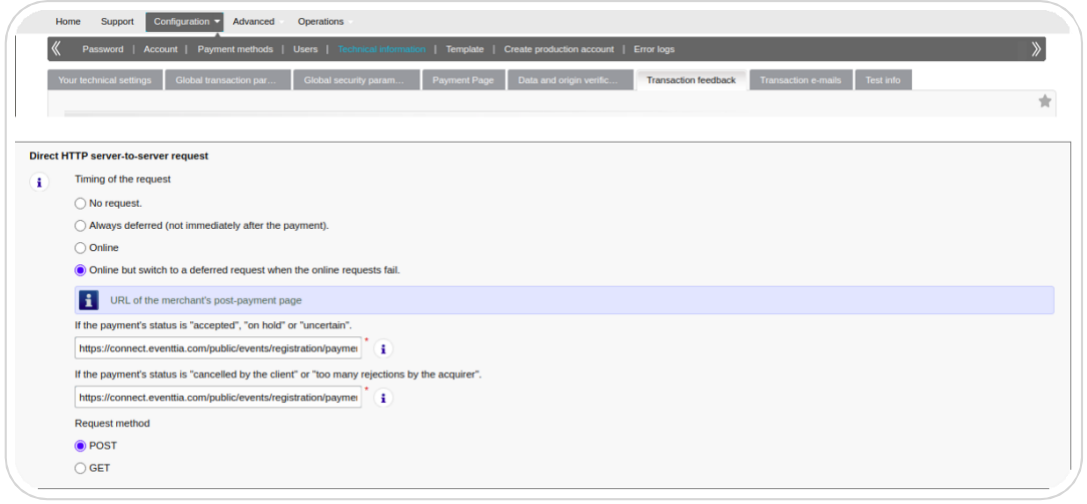
Step 3
- Set Eventtia as the receiver of status change notifications on a payment. This way we can detect when one of the attendees successfully makes the payment and update its status in our database.
b) Insert the following: “https://connect.eventtia.com/public/events/registration/payments/ingenico (https://connect.eventtia.com/public/events/registration/payments/ingenico)” in both text fields.