Step 1: Go to the Sponsors Module
-
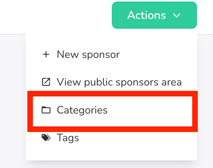
From your event dashboard, navigate to the Sponsors module.

- Click on Actions > Categories.
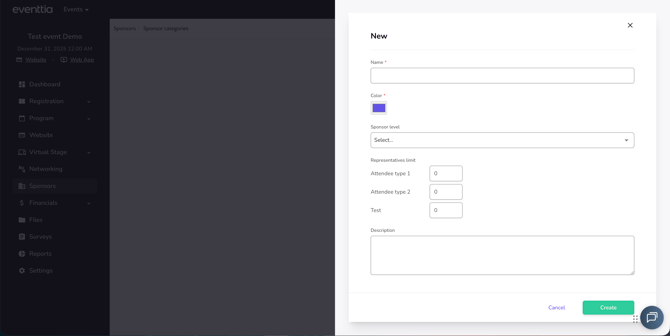
Step 2: Create a Sponsor Category
- Click on new category

-
or if you already have some categories created, click Actions > New category.
 Fill in the details:
-
Name
-
Color
-
Sponsors level (This affects the size of the banner on the Virtual Stage.)
-
-
In the Representatives section, define how many representatives each attendee type can have.
-
Example: allow only 1 representative for the “Company” attendee type.
-
-
Click Create.
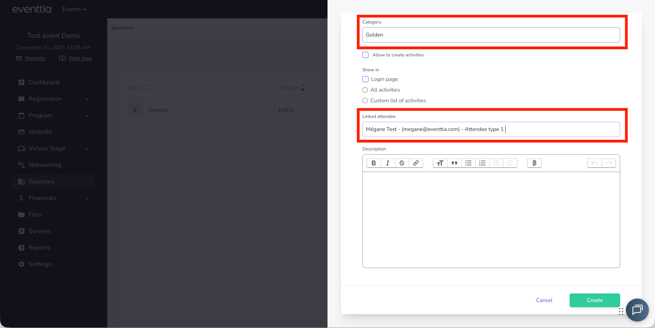
Step 3: Add a Sponsor
-
Go back to the main Sponsors module.
-
Click Actions > new Sponsor or edit an existing sponsor. Refer to this article for detailed instructions on adding a new sponsor.
-
Fill in the sponsor’s information and assign the correct Category (e.g. Gold).
-
In the attendee field, search for and select the attendee who will act as the sponsor’s representative.
-
Click Save changes/Create.
Step 4: Allow Sponsors to Edit Their Page
- Go back to the main Sponsors module.
-
To enable sponsors manage their own page and add additional representatives:
-
Click Actions > View public sponsor area.
-
-
Share the link with the sponsor via email or other communication channels.
-
The sponsor will need to:
-
Enter the email of the registered representative.
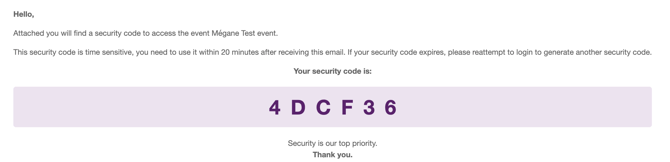
-
Retrieve and enter the access token sent to their inbox.
-
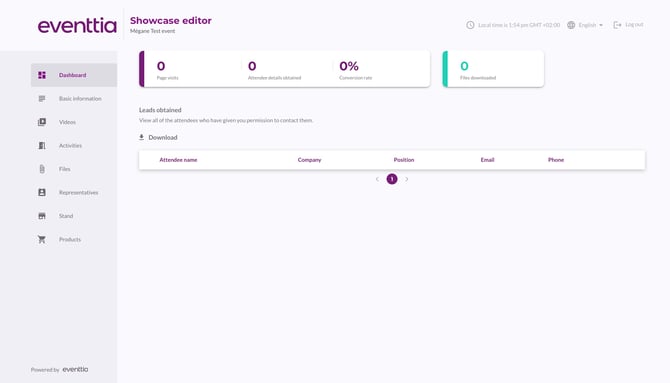
Step 5: Sponsor Page Editor (Public View)
- Once the sponsor accesses their showcase editor:
-
They can update basic details, add videos, and edit the profile ( For additional details, please refer to this article.) .
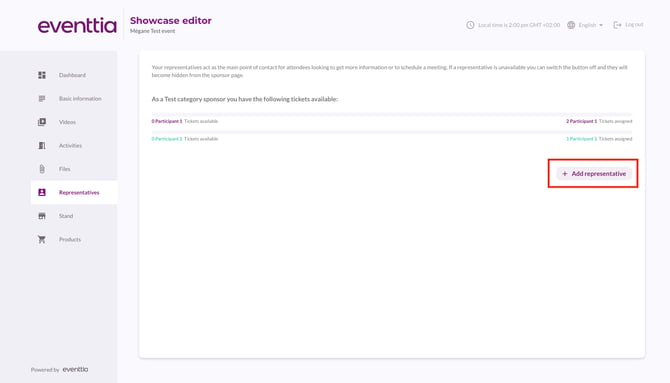
- Go to the representatives tab where you can add additional representatives:
- Click on the "Add Representative" button.
-
-
If the representative has not yet been registered for the event, adding them here in the showcase editor will automatically register them as a attendee.
-

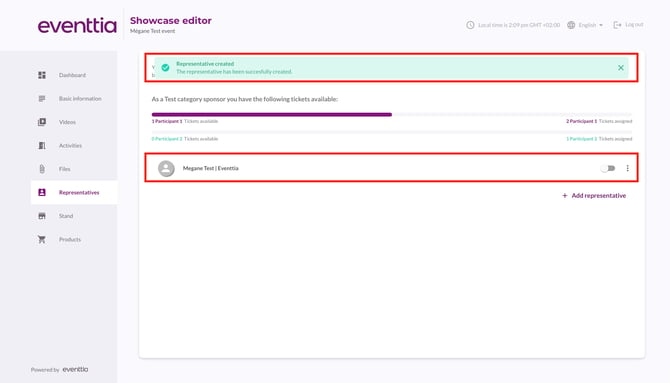
![]()
-
-
If the representative has already been registered for the event, an error pop-up will appear with the message "Error creating representative". Don’t worry, simply click on the link "You can associate attendees as representative here."
-

-
- Then, click on ‘Add’ to link the representative to their attendee profile in your event.

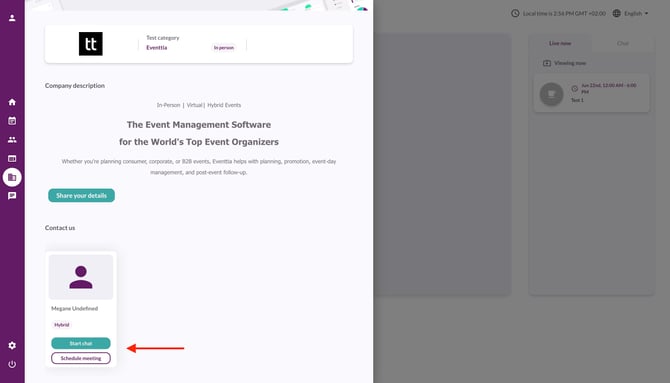
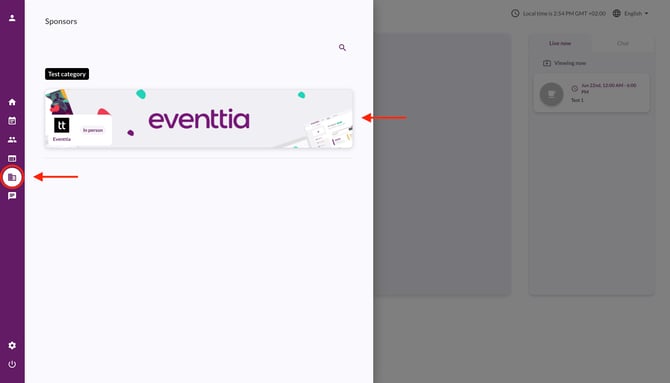
Step 6: Preview on the Virtual Stage
-
Log in to the virtual stage.
-
Click on the Sponsors tab.
- You’ll see sponsor cards organized by category levels (e.g. Gold = Level 1).
-
Click on a sponsor to view:
-
Their info
-
Their representatives
-
Options to start a chat or schedule a meeting
-